Creating Individual Contacts
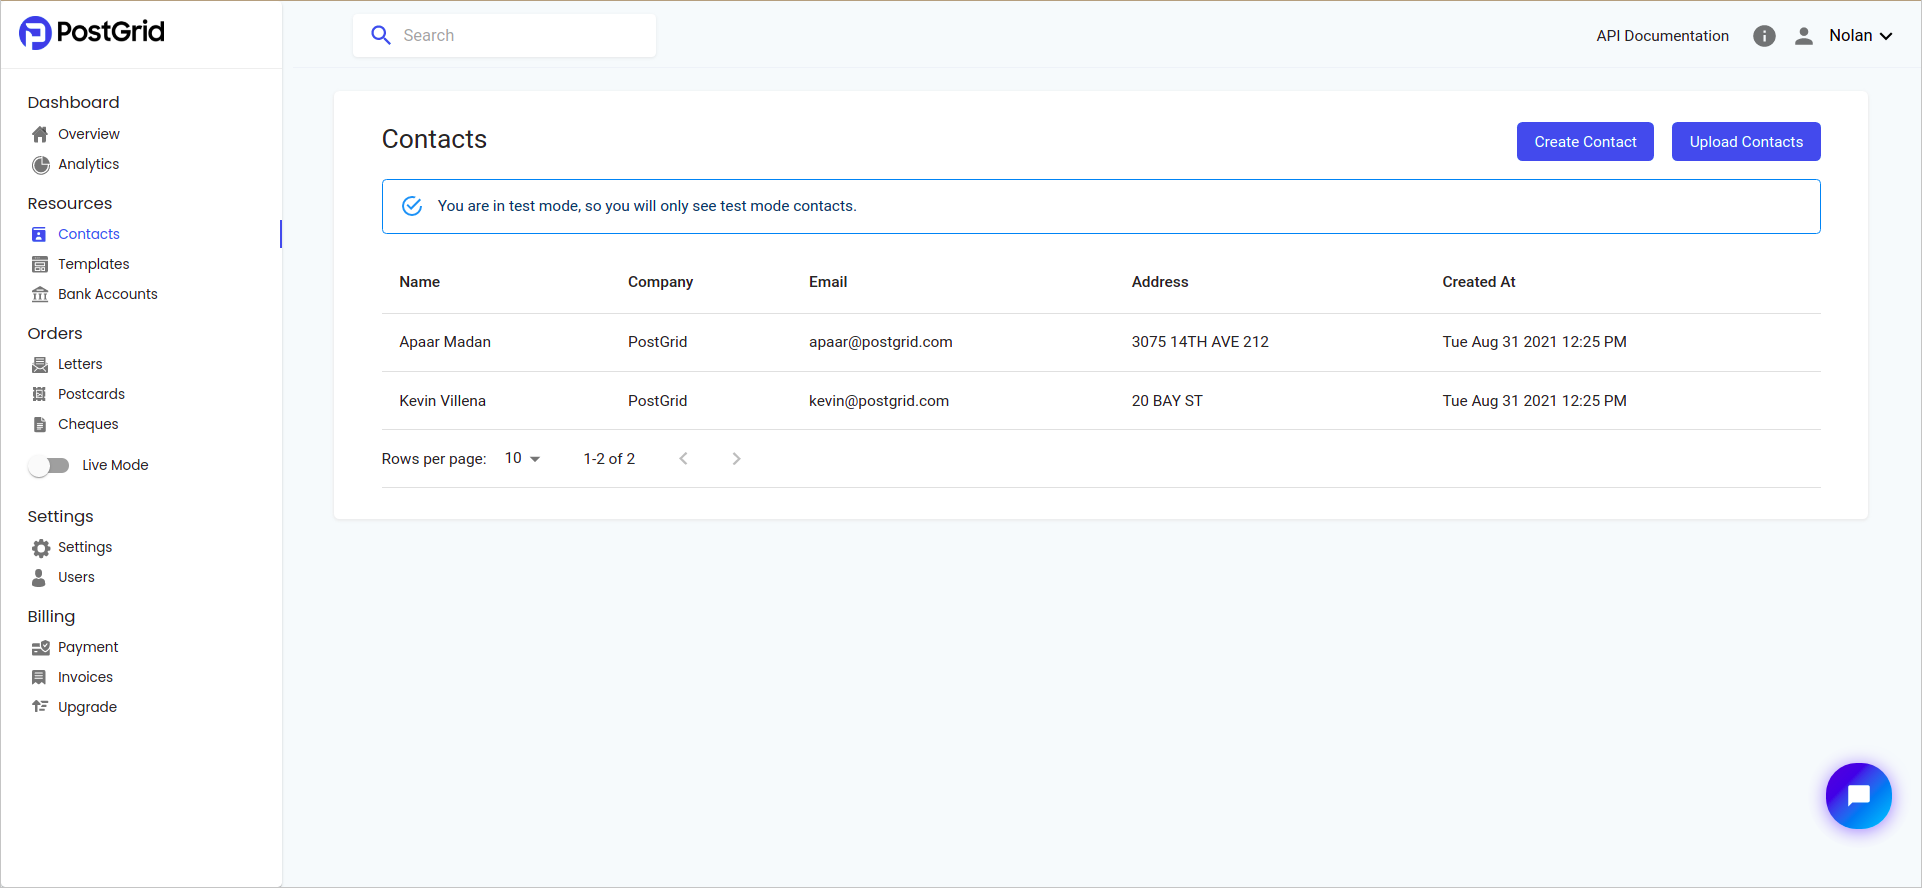
Before we can get started with sending mails, we will need to specify who the mails are from and who they are going to. To simplify this process, PostGrid has the ability to create contacts built right into the dashboard. So let's navigate to the contacts tab which can be found on the navigation bar on the left.

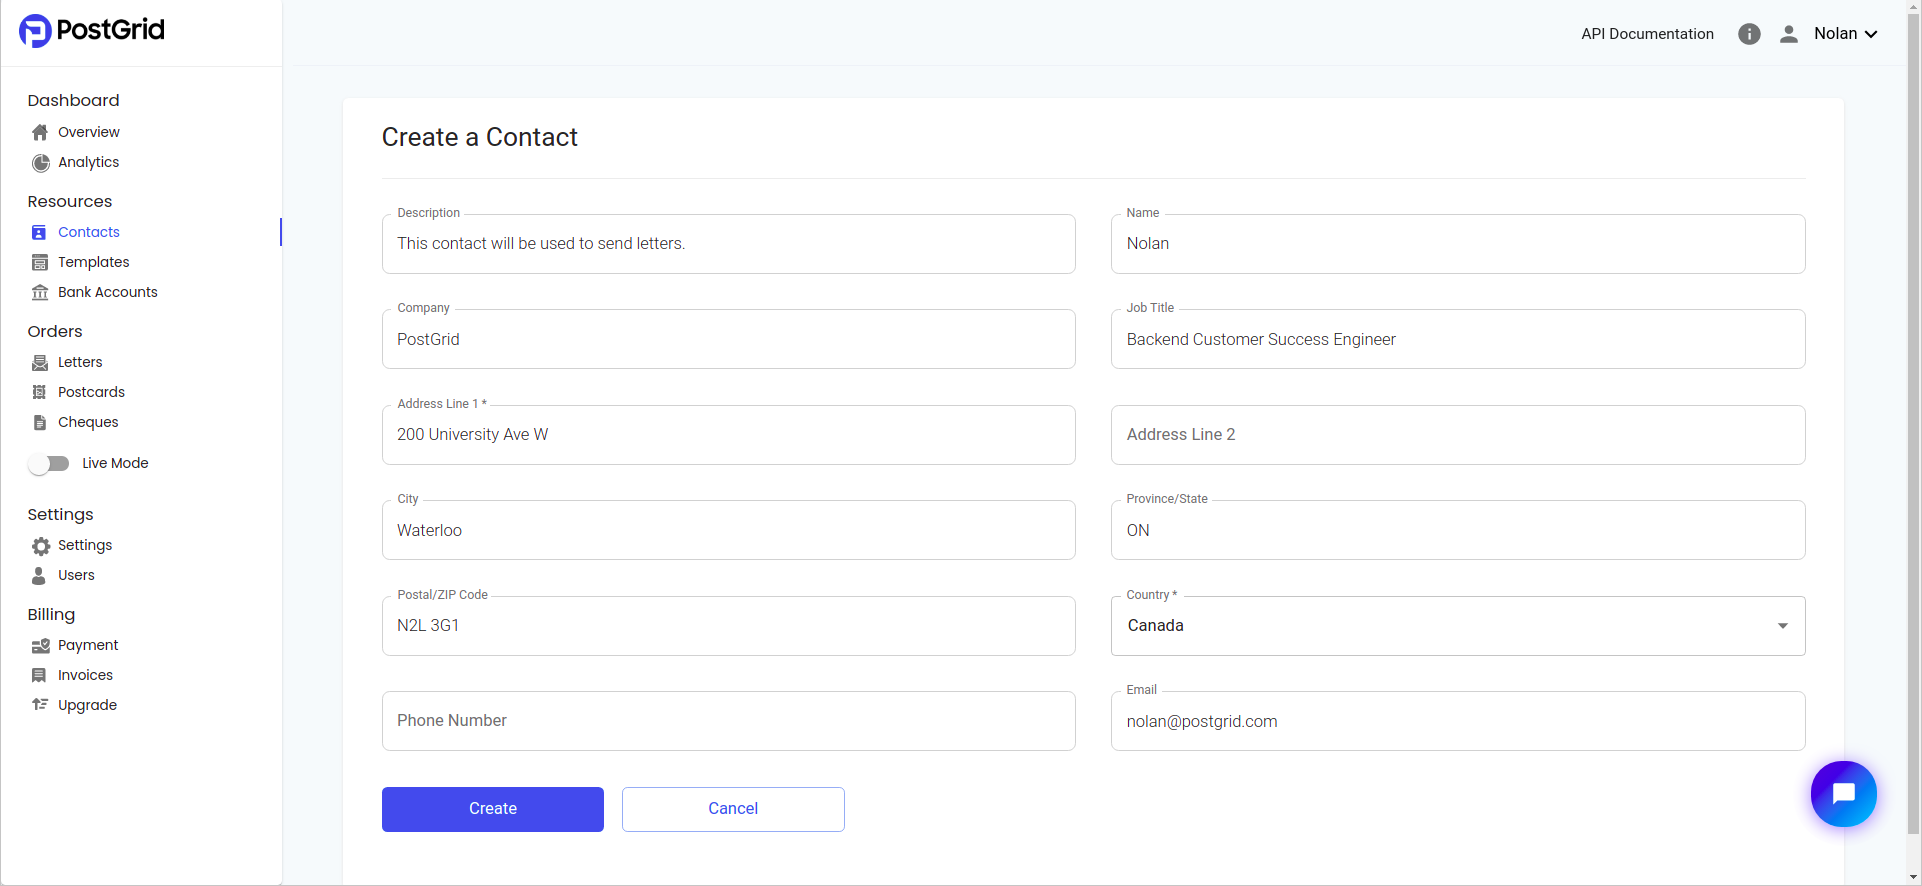
On this page, you can find already existing contacts and select them for more information. You may also use the search bar at the top to search for contacts by using any information known about clients including names, company names, or addresses. Let's use the button in the top-right to create a new contact for myself so that we can send letters.

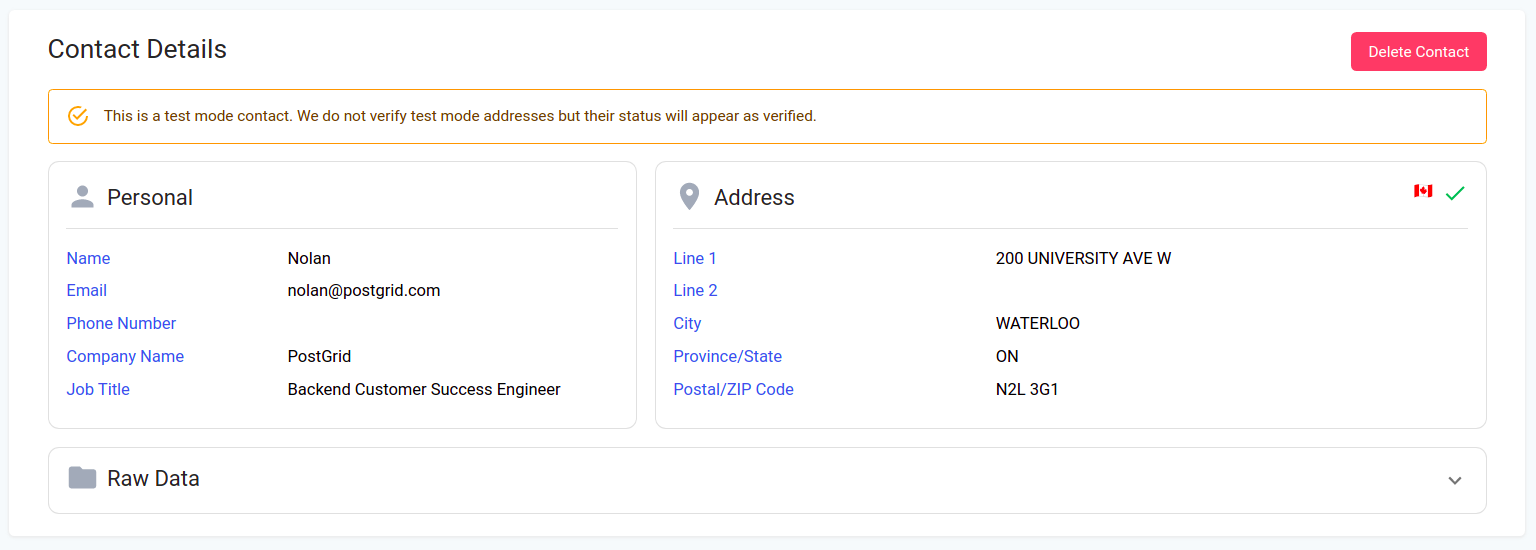
With the appropriate details filled in, we are set to simply hit the create button which will take us back to the page with all of our clients with our newly created contact listed at the top. To change contact information, delete a contact, or see if their address is verified, simply select the contact from the list to be navigated to a page containing these options.

Creating Multiple Contacts
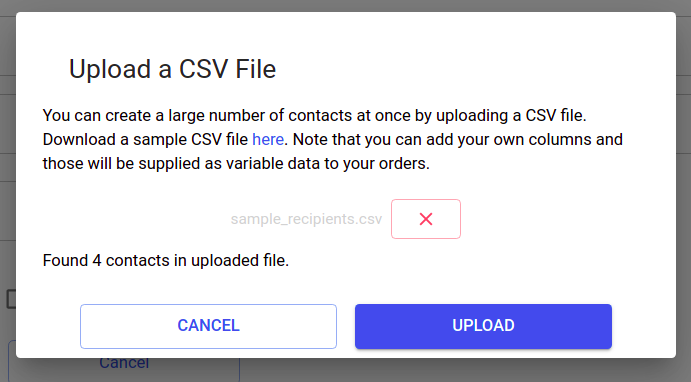
If you have a lot of contacts you would like to upload at a time, we can use the 'Upload Contacts' option found on the contacts page. Here we can select a CSV file with our contacts separated by lines. For properly formatting your contact information, see the example found here.

Test Mode Contacts
One part of contacts which is important to differentiate is what it means to be created in live mode or test mode. As we can see by the disclaimer above our contact, a contact in test mode will have their address marked as verified despite not actually being verified. When you create contacts in live mode, PostGrid will verify the address and properly determine whether local postage can deliver to that address.
