Customizable Images and Backgrounds in Templates
While adding text can be great for personalizing letters, they often say a picture speaks a thousand words.
If you have access to individual images you would like included with every letter or postcard you are sending out, this guide will walk you through how this can be achieved easily.
This guide will assume come comfort working with basic merge variables, and for dashboard users, working with our CSV upload tool.
For more information to get started with text merge variables, CSV uploads, and creating orders, be sure to check out our other guides.
Setting up a Template
The best way to setup customizable images and backgrounds into your templates is right in our template builder with placeholders.
This allows you to visualize the size and location that a custom logo or QR code would take up. This also means that for the best results with custom images, it is recommended that all replacements have exactly the same size, though you can set up your templates to account for changes in size but the visual behavior can be hard to determine.
With that in mind, let's create a basic postcard template with a background image and picture used as placeholders as well as a standard text merge variable.
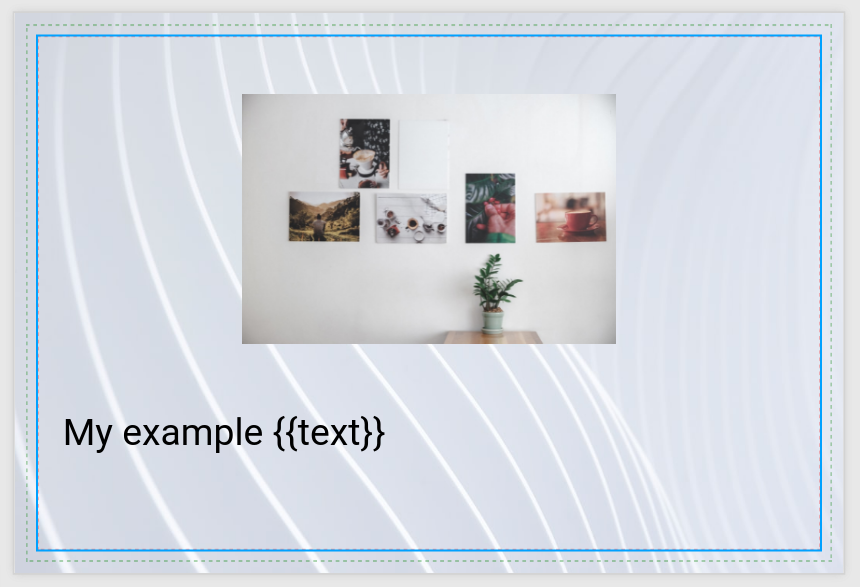
Identifying Images and Backgrounds in HTML
With our placeholder template ready to go, let's save and hit 'Back' to view the automatically generated HTML.
It is now from this generated HTML that we can make our adjustments and set up our merge variables.
Before we get into performing this exactly, let's just go over how we can identify where our background and images are saved.
Starting with our background, here is how it appears in my document:
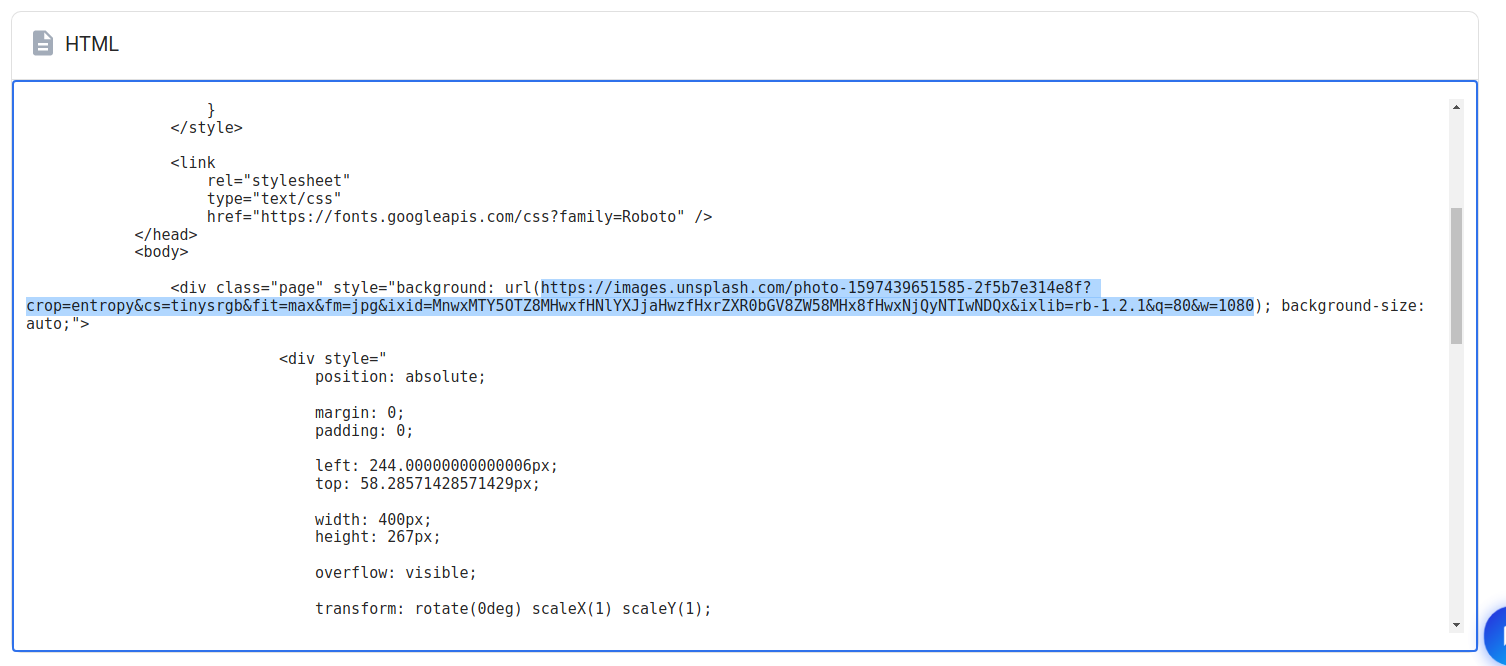
If were were to follow the highlighted URL, we would in fact be taken to just the image which was used in our background.
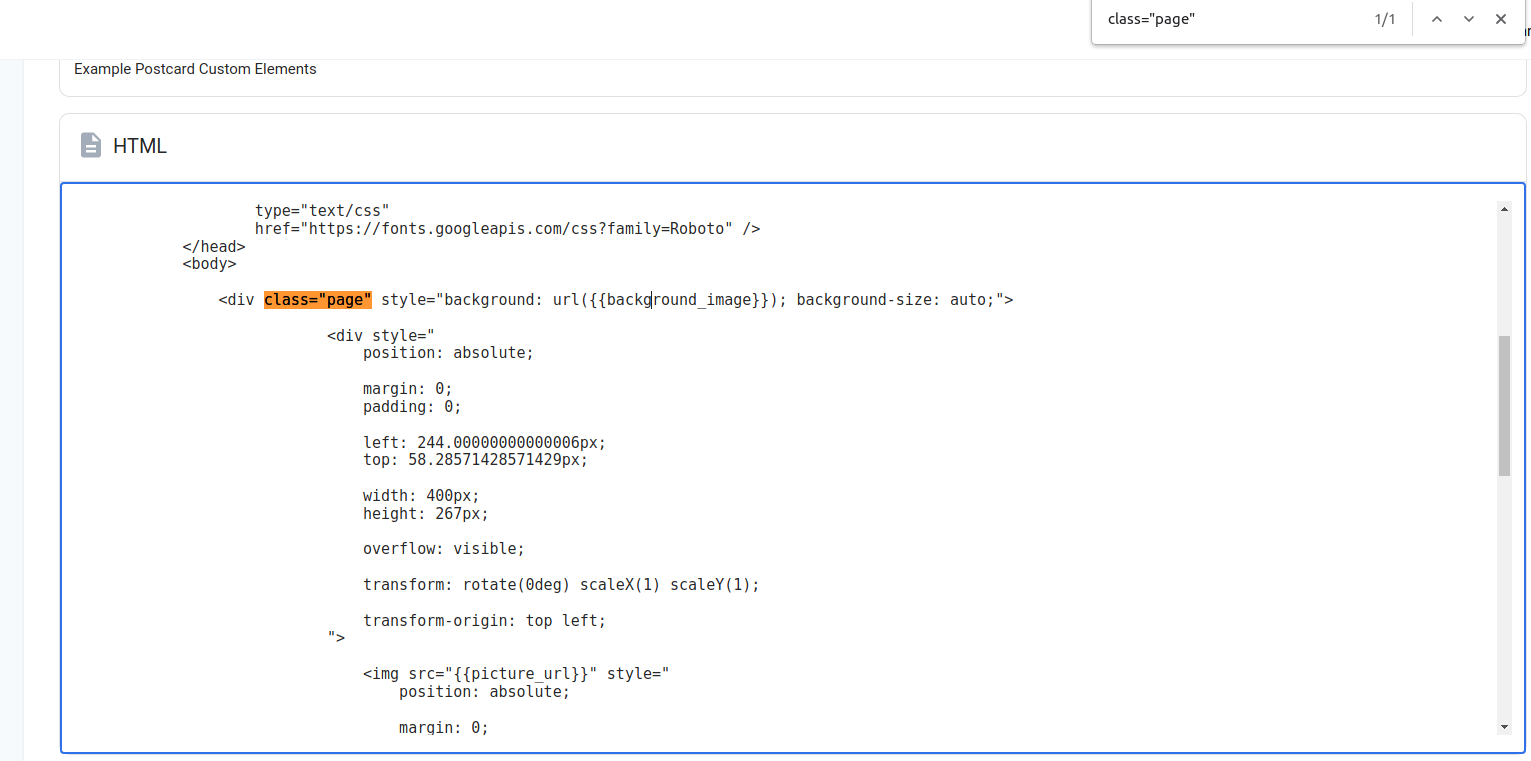
To identify this for all pages in a systematic fashion, have a look that we can use the browser's built-in search functionality to quickly navigate to each page by searching for class="page". A search which makes sense as the background is to go along with each page.
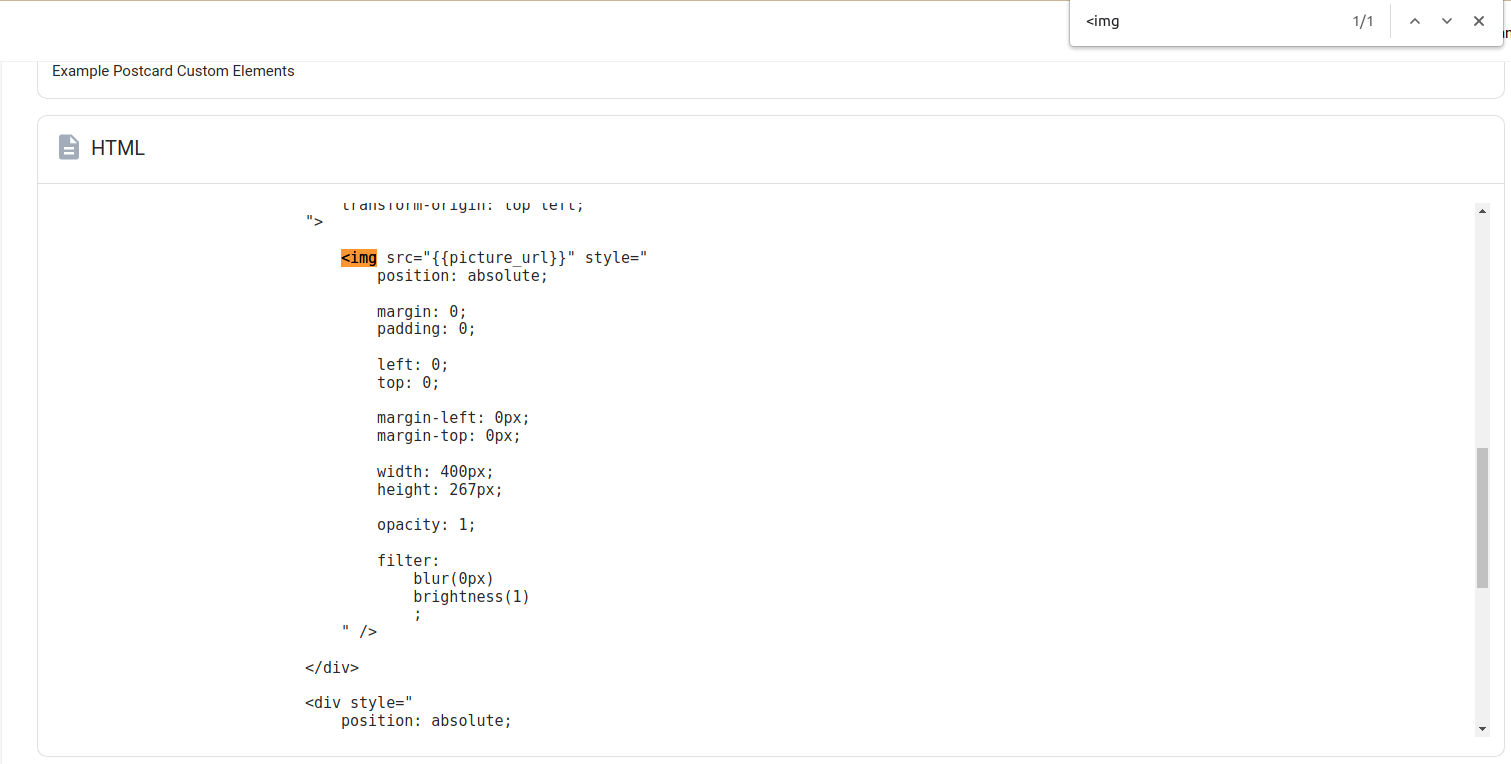
Moving on to our image, let's see how that appears in our document.

As before, following this URL will take us to the image we included as our placeholder.
To find all images in our document, we can again use the same search technique and checking out the URL to make sure that it really is the particular image we are looking for.
This time, a search for <img makes sense as this will identify where all images are stored in the document.
An overall understanding of how HTML documents are structured, as well as how they are stylized with CSS, will also prove advantageous for easily identifying where your images and backgrounds are stored in the document.
Also note that if you used a color for the background instead of an image, then you will be presented with a CSS color instead of a URL to an image and background will be replaced with background-image.
These colors can appear in a number of ways and below are a few examples:
background-color: rgb(232, 72, 72)background-color: #e84848background-color: red
You can use an online color picker for easily setting up the colors you would like to use.
Setting up Merge Variables
With the backgrounds and images identified in the HTML document, we are now ready to edit the document and set up our merge variables.
For this, we will just replace the URL for the image with a merge variable following the usual syntax we are familiar with.
Here we see how we handle this replacement for the background image.

And here's how the replacement goes for the image URL.

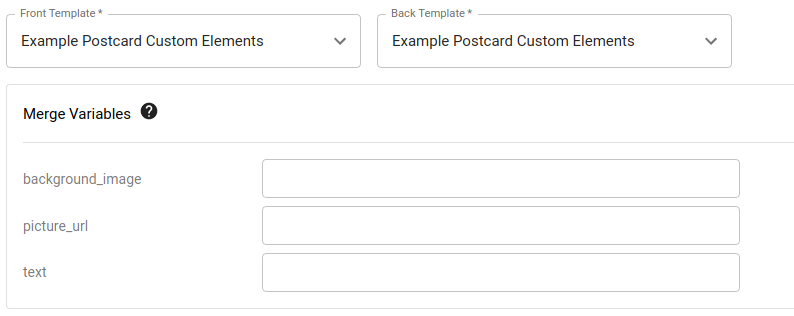
With the merge variables setup in our template, once we save and navigate over to the corresponding orders tab, we should now be able to see a preview of which variables were included.
Conclusion
With everything in place, we are ready to begin trying out our template.
For specifying merge variables for a bulk mailing, please see our in-depth CSV guide for more details.
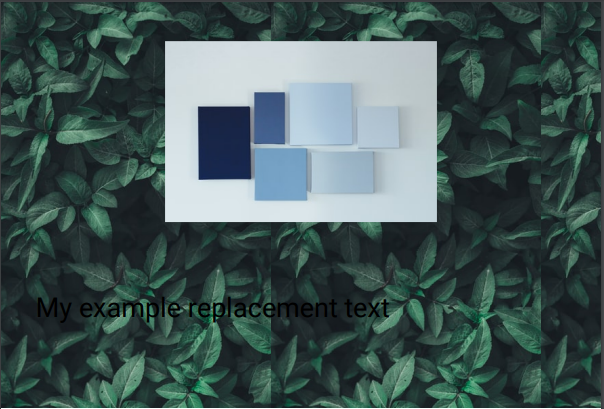
For a brief example, let's send our postcard with the following replacements:
background_image
picture_url
text
replacement text
Using these values, we find the following postcard.
As you can see from this guide, there are few limitations to what can be done with merge variables and HTML templates.
With more HTML knowledge, much more can be customized on-the-fly, ensuring that each of your recipients are able to received personalized mailings.
This concept may even be brought further to include personalized QR codes, allowing you to track who exactly is opening and interacting with your mail for more detailed analytics.
For any further questions or inquiries, be sure to reach us at [email protected].
