When your business requires sending mail in an effective and scalable manner, PostGrid has your solution. In this guide, we will examine how to send cheques using the PostGrid Print & Mail dashboard.
Overview
There are five stages in the process of sending cheques with PostGrid:
- Creating contacts
- Creating bank accounts
- Creating templates for optional letter
- Sending cheques
- Tracking cheques and other analytics
Whether you have a small operation with no developers or a large operation with engineers on hand, each of these six stages have tools at a variety of different levels to accommodate. In this guide, we aim to show you how you can use either our dashboard each of these six stages and how you can safely test out your workflow.
Integrations
PostGrid may also offer integrations with your CRM or automation service of your choosing, though this guide will only go over our dashboard. Reach out to our team to see if we currently offer such integrations and if not, we'd be happy to expand our reach. PostGrid also comes with a feature rich API, where you can find our documentation here or follow this exact guide but for the API, which can be found here.
Live and Test Modes
To make sure that your customers are receiving the exact cheque you wish to intend, PostGrid offers both a test mode and a live mode. In test mode, actual cheques are not sent out but the process of creating orders is completed all the same. This allows you to ensure that variable data is assigned properly and when you preview a cheque, it adheres to postal standards and looks exactly as it should. When you are ready to actually send the postcards, you can switch to live mode and repeat the sending process with everything set up as before. Cheques sent in test mode will not be delivered, even after switching to live mode. More details on these features will be discussed below.
To swap in and out of live mode, you may toggle the switch found on the left side and pictured below.

When the switch appears grey as it does in the image, you know that you are in test mode and are free to use the dashboard without worrying about sending actual mail.
Creating Contacts
We begin our process right at the dashboard after logging in.
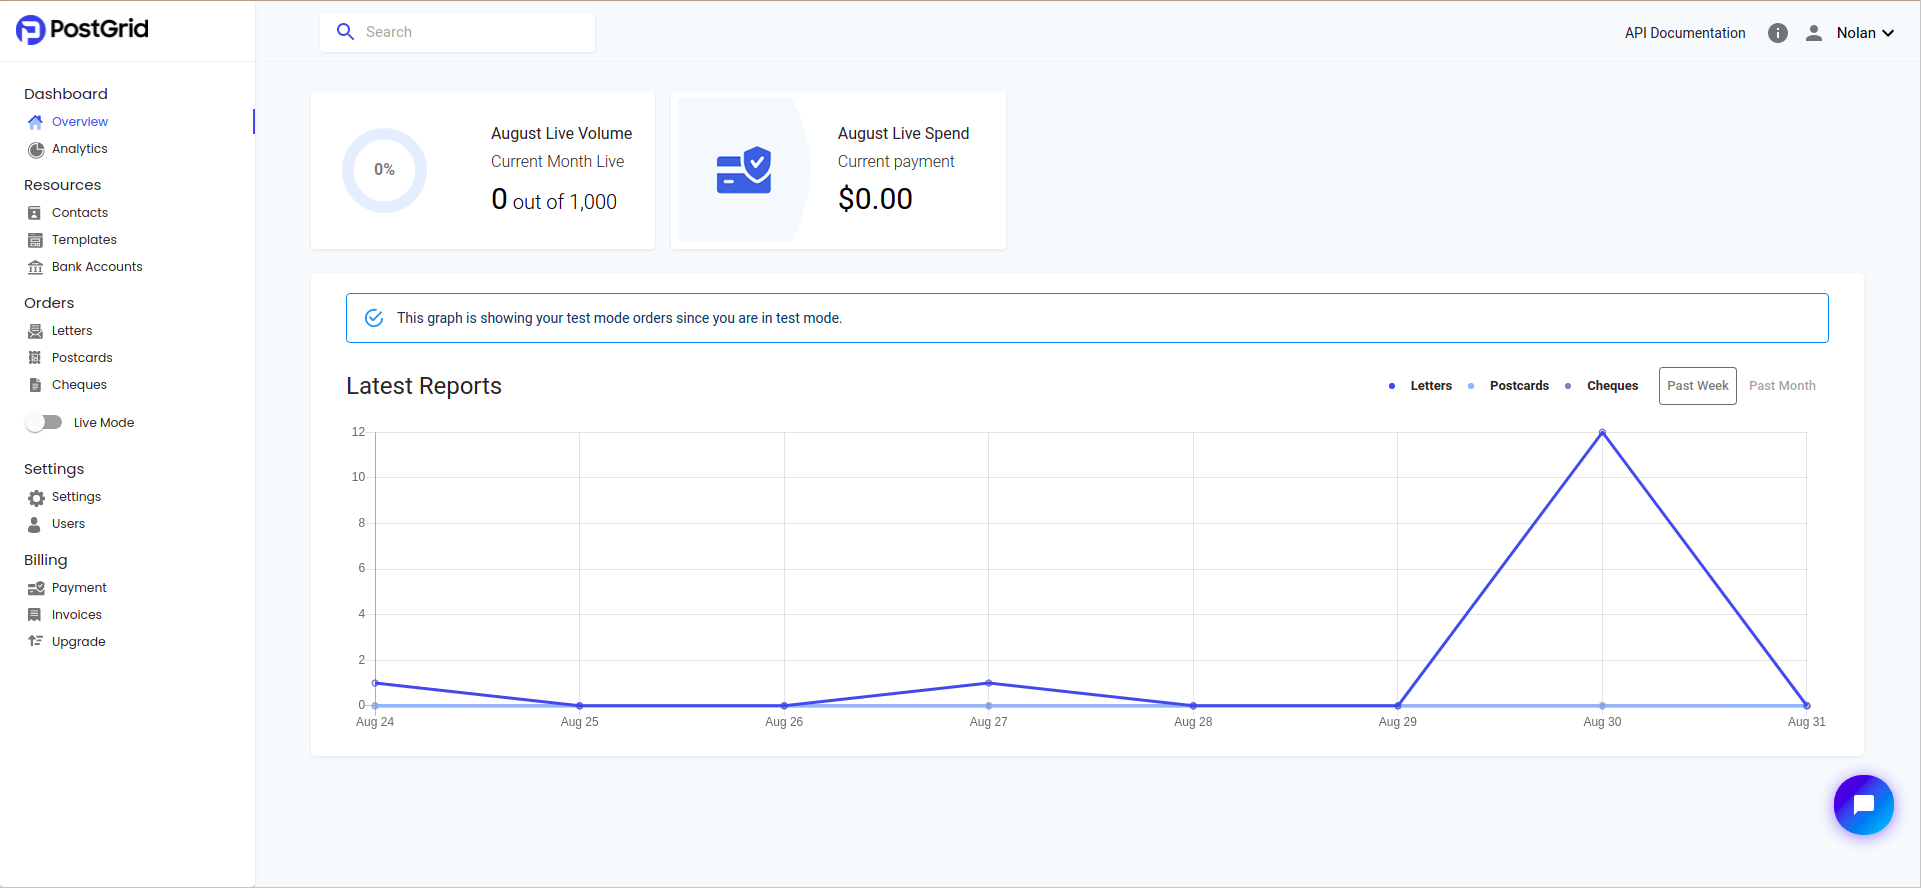
Though there are certainly some analytics we will get back to, we are interested in creating a cheque.
Before we can get started with sending cheques, we will need to specify who the cheques are from and who they are going to. To simplify this process, PostGrid has the ability to create contacts built right into the dashboard. For an in-depth guide of how to create contacts, read this guide.
Creating Bank Accounts
The sender is required to select a bank account from which the amount should be transferred to the recipient.
To simplify this process, PostGrid has the ability to create bank accounts built right into the dashboard. So let's navigate to the bank accounts tab which can be found on the navigation bar on the left.
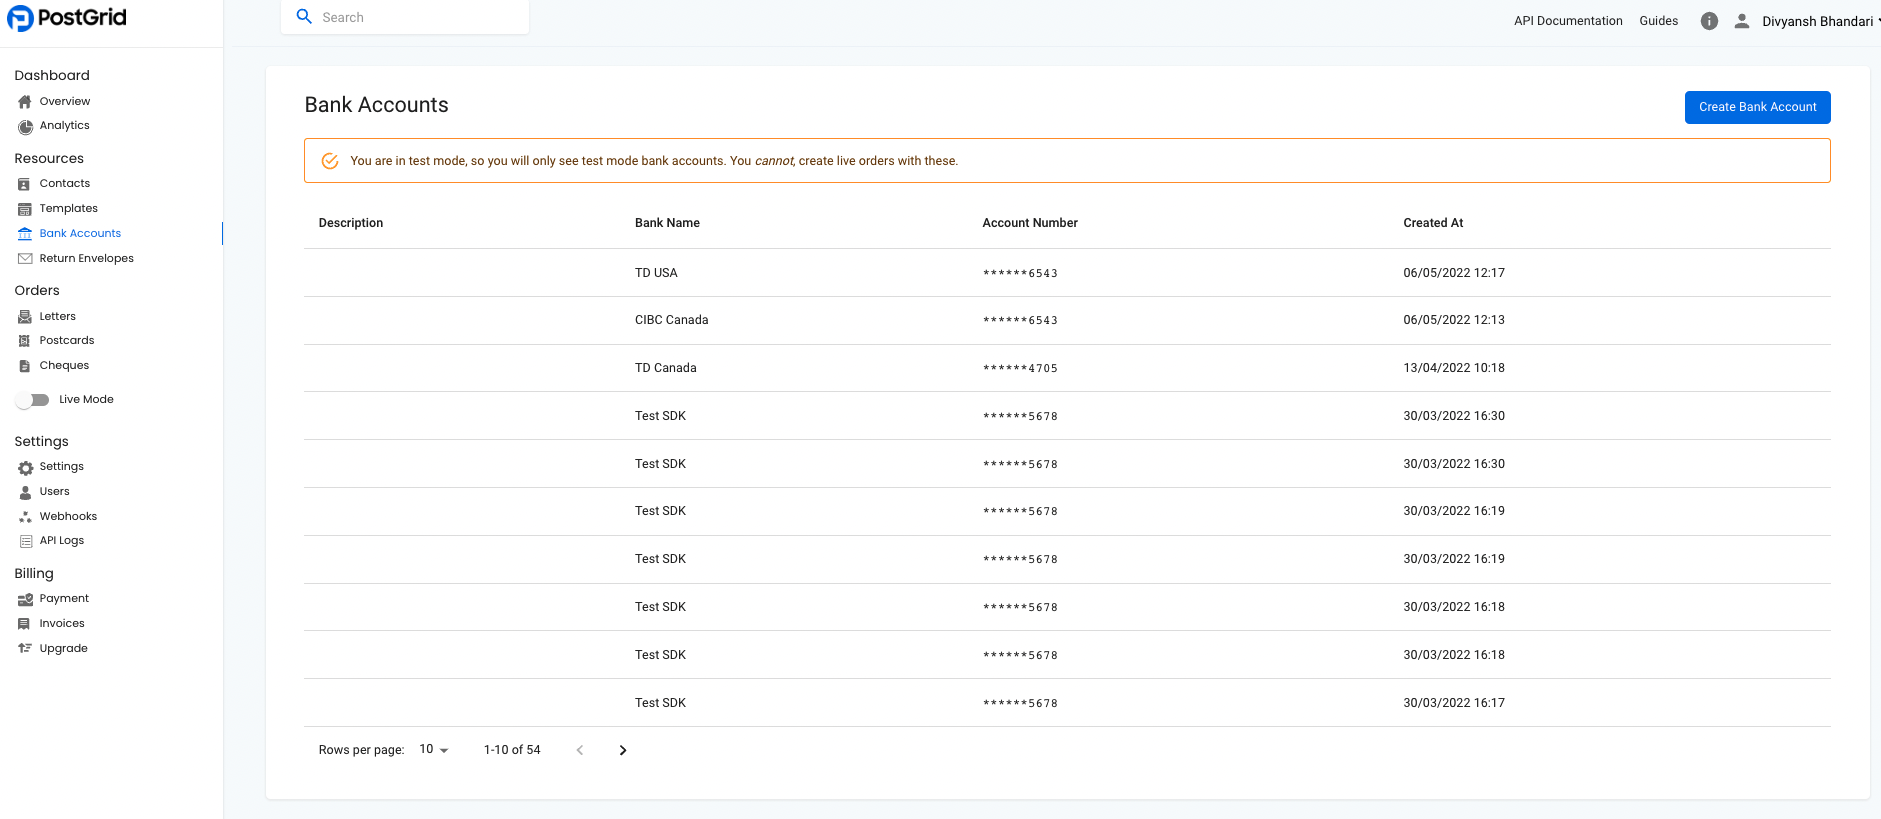
On this page, you can find already existing bank accounts and select them for more information. You may also use the search bar at the top to search for bank accounts by using any information known about them. Let's use the button in the top-right to create a new bank account for myself so that we can send cheques.
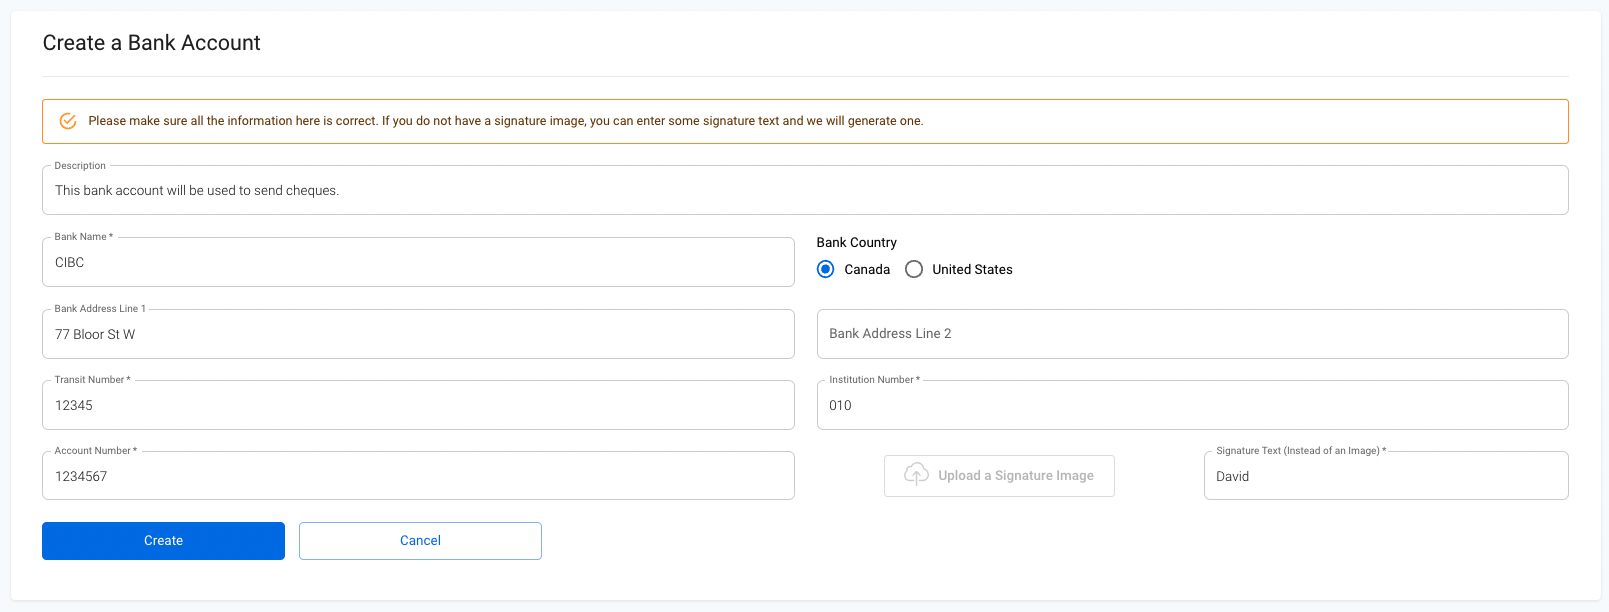
With the appropriate details filled in, we are set to simply hit the create button which will take us back to the page with all of our bank accounts with our newly created bank account listed at the top. To view any information, delete the bank account, or see the cheque template, simply select the bank account from the list to be navigated to a page containing these options.

Creating Templates for Optional Letter
PostGrid allows users to send cheques along with an optional attached letter. Our next section defines how templates can be created to simplify creating letters.
If you already have a PDF you wish to send, you can skip the next three sections. Otherwise, you are going to need to create a template for your letter. For an in-depth guide of how to create templates, read this guide.
Using PDFs
If you don't need to create a template but instead have PDFs already ready to send to specific contacts, then you can move right along to the sending part. However, you will still need to read the following section to be sure of the format of the PDF letters you wish to send.
Formatting Concerns
When sending and printing mail, we need to keep in mind where the cheque will be placed as well as where the margins can be found. The cheque is placed 7.6" from the top on a page of size 8.5" x 11". The page margins are located on 0.3" on the sides and 0.35" on the top to account for the message. Any additional pages, including those for an attached letter, are double-sided and are printed in black & white.
In the official API documentation (here), you can find the specifics for Canadian letters and for US & international letters.
Creating and Sending Cheques
If you are still unsure of how the mail will turn out, please make sure you are in test mode.
Sending Individual Cheques to Contacts
With our contacts and bank account created, we are ready to send a cheque. To begin, let's head over to the cheques page by using the navigation panel on the left.
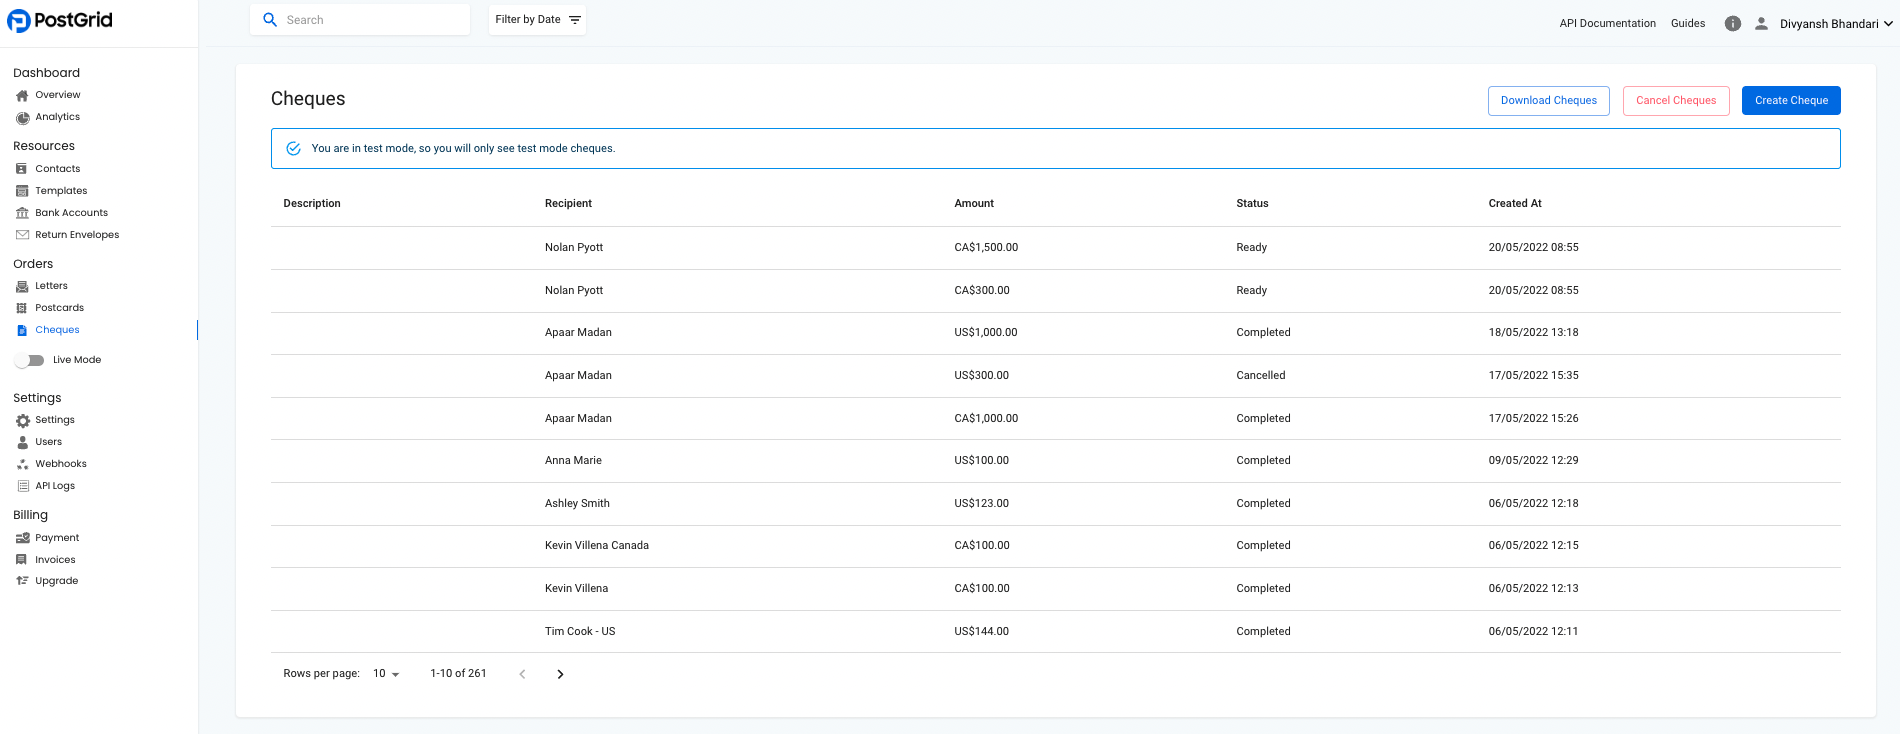
On this page, we find a table of all of our previous cheques sent. If we are looking for anything specific, we can use the search bar at the top of the page to find mail sent to particular contacts, at a particular stage, and many more options. To create our cheque, let's click the 'Create' button at the top right.
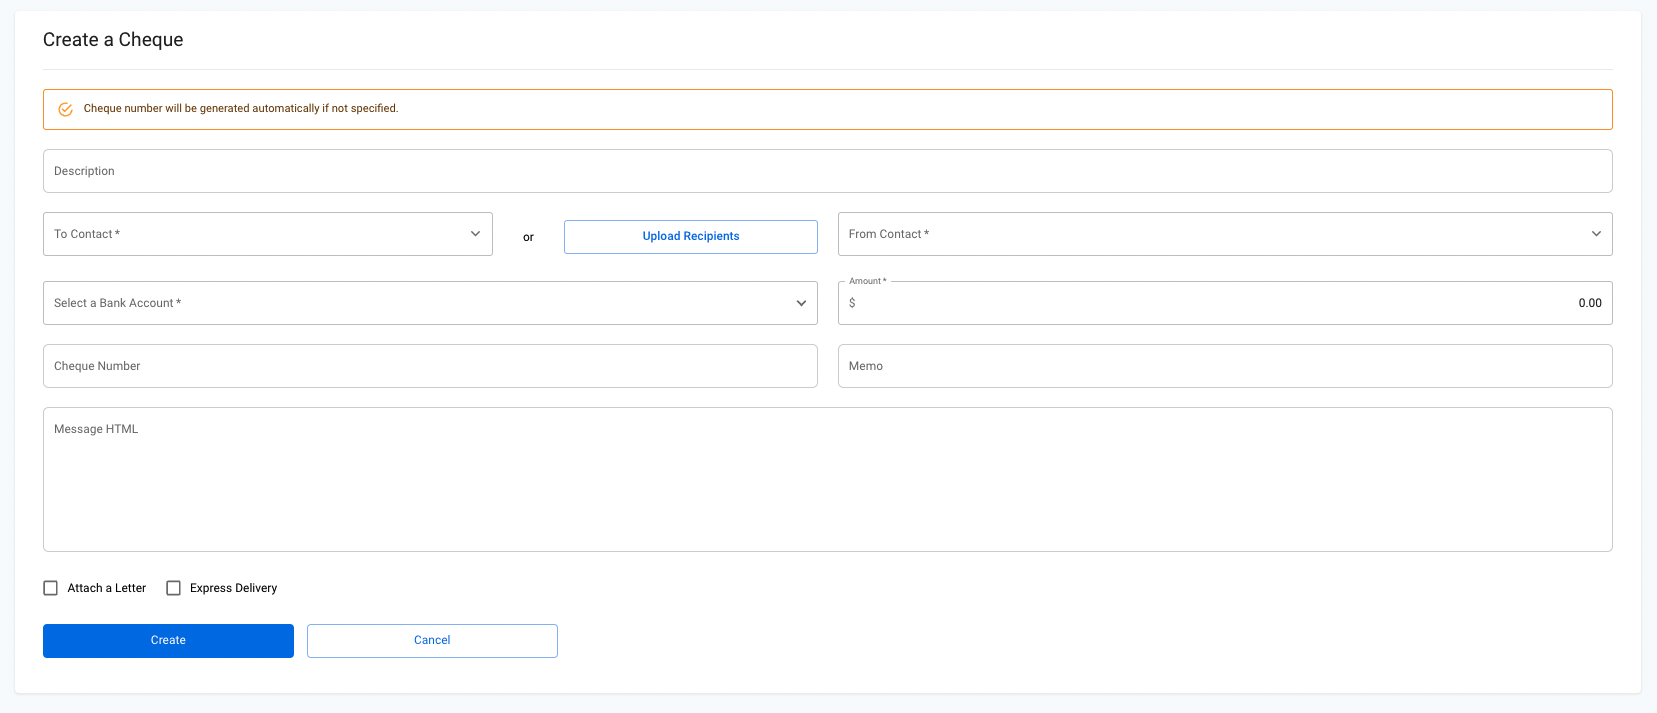
Once we are here, we find all of the fields necessary to fill out our cheque, including a bank account and our contacts. This is why it was important that we cover the creation of contacts and bank accounts before jumping into making our cheques.
Contacts
To add contacts, either start typing a name or use the arrow to drop down a list of recently created contacts. Select the contact you wish to send the cheque from and the desired recipient contact. We will cover in more detail the 'Upload Contacts' option in a later section.

Cheque Details
With our contacts selected, both for to and from, we are now ready to select our bank account. To select a bank account, either start typing a name or use the arrow to drop down a list of recently created bank accounts.

Next, enter the amount (in dollars) that you wish to send to the recipient.
Note : Please double-check this amount as it will be withdrawn and transferred from the bank account selected in the previous step.

The Cheque Number and Memo fields are optional. Cheque number will be generated automatically, however you can use the Cheque Number field to specify one. Text entered in the Memo field will be displayed on the cheque in a small font.

Message
The Message HTML field allows the mail to have a message printed above the cheque on the same page. This message is to be written in HTML and can be templated for variable data with the use of merge variables. For example, {{to.firstName}} would be replaced with the first name of the recipient contact. The template editor in the Template section on the left side of the dashboard can be useful to generate HTML content to fill this field.
Attached Letter
In the case of this cheque, we choose to attach a letter so we will check that option. Upon the appearance of extra fields, we either choose an existing template for our attached letter or upload a PDF of the letter we wish to send out along with the cheque. This letter will be printed on extra double-sided pages in black & white and will be sent out along with the cheque in the same envelope. Next, we will opt for the mail to be sent out by express delivery and so we check that option as well. With everything selected, our page should look like this.
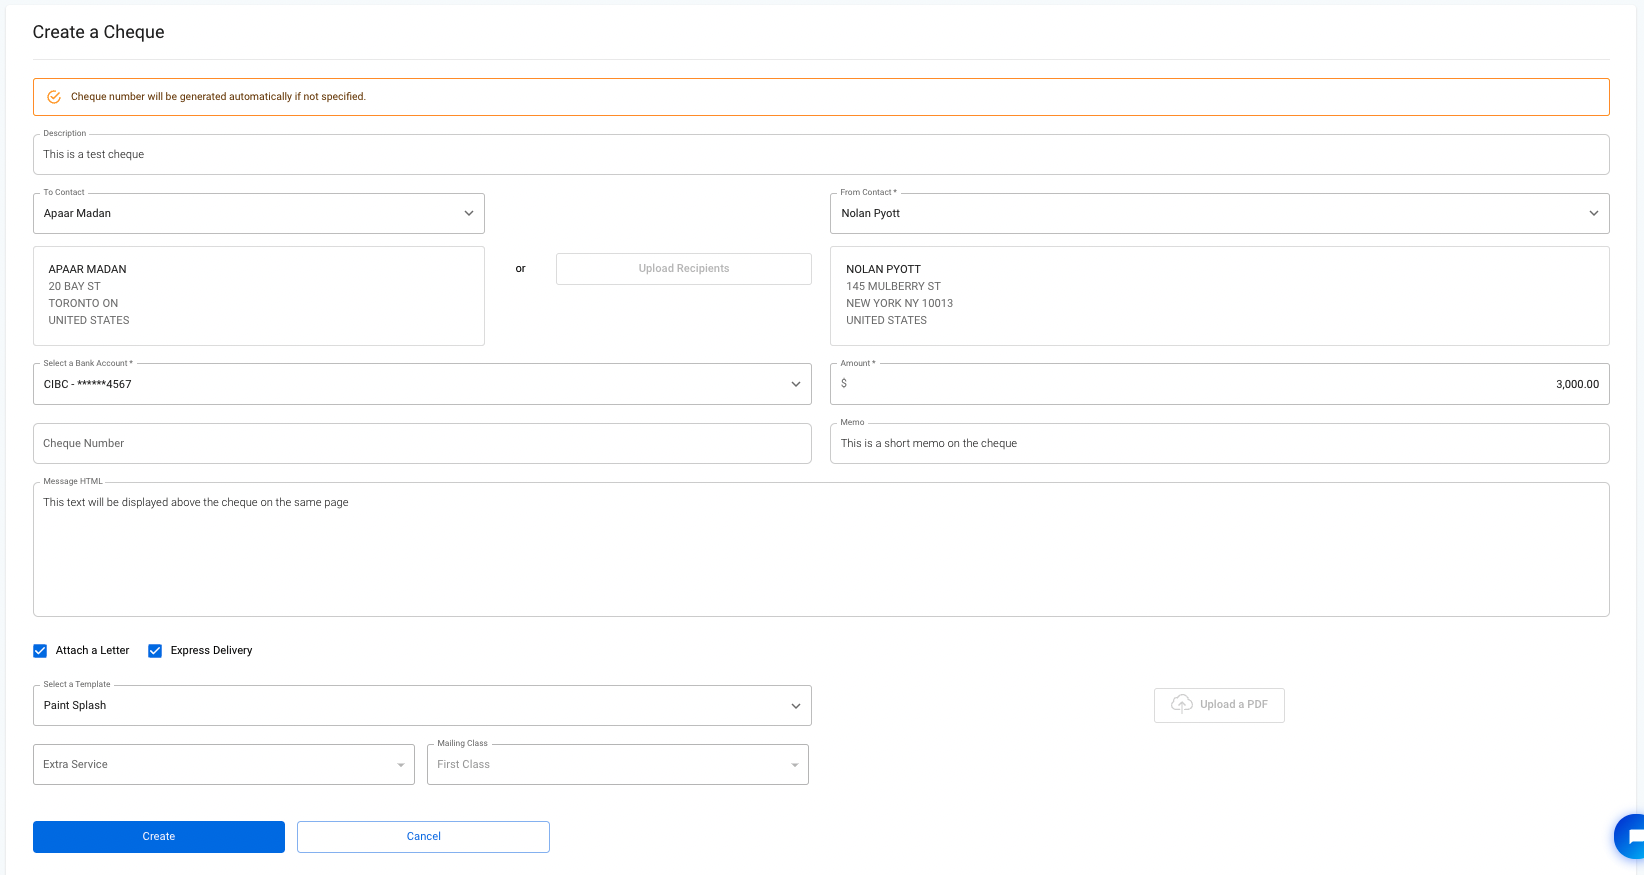
Next, simply hit the 'Create' button and our cheque will be ready to go and we will be taken back to the list of our cheques. To see a PDF preview, simply click on the cheque and then click on the 'View PDF' button when you are at the page on the specific cheque. More details on this will be covered in the tracking section. We then move on to the next steps with our cheques in the final section on tracking cheques.
Sending Cheques to Multiple Contacts
With an understanding of how we can send mail to individual contacts, let's look into how we can send mail to multiple contacts at a time. To do so, we are going to need a CSV of our list of contacts and use the 'Upload Recipients' button.

For properly formatting your contact information, see the example found here. Let's use this example as our baseline. This file contains Amount, Memo and Cheque Number columns, which are now disabled on the dashboard, to define each of those fields for the respective cheques. Adding our example file to the popup which appeared when we clicked 'Upload Recipients', we see that PostGrid tells us that it has found 4 contacts.
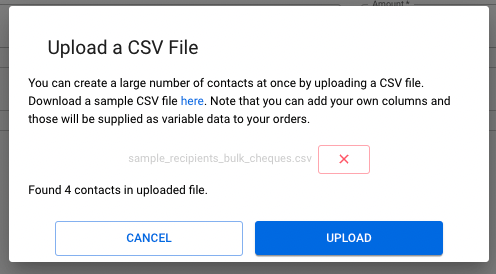
After clicking Create, we see the four cheques created. Viewing previews of each of these cheques will show you that the information has been filled in just as it had for our previous cheque and will be tailored to each specific contact.
Tracking Cheques
Reaching this point, we have finally sent our first cheque. Naturally, we will want to track our cheques and make sure they complete their journeys as well as search through our existing cheques. For the next few sections, we will want to navigate back to the cheques page by using the navigation panel on the left.
Cheque Progress
From our cheques page, let's click on one of the cheques we just sent.

Once there, we are immediately presented with sender and receiver information as well as progress bar. Fortunately, we are in test mode, so we have access to a 'Progress' button in the top right which allows us to view each of the stages. Currently, our cheque is ready and will be sent off to printers in the next business day.

The next stage is printing. If you look where the 'Progress' button is, we now find that the 'Cancel' button has been disabled. At this stage, PostGrid cannot guarantee that printers have not already sent out your mail for delivery and the cheque cannot be cancelled. Fortunately, PostGrid has recognized that we are in test mode and has left us a dialogue below the stage number telling us that no actual mail was sent.

Next, printers will take your mail and have it processed. When the local postal service has entered your mail into their systems, PostGrid will be able to relay to you that your mail has been processed and is now awaiting delivery.

Finally, your cheque will have reached the status of completed. This is based on regional estimates of time to completion and not an actual verification of delivery. To receive a tracking number for your mail (and an exact notification of delivery), you can send this as Certified Mail.
Previewing Cheques
Another useful button when viewing sent mail is the PDF preview, which can be accessed by selecting "View PDF". If you are ever using variable data as we had above, or including the address on the same page as your content, you will want to view your PDF and make sure the data has been filled out correctly and that the address field is not overlapping any content. This PDF is what our printers will receive, so you can be certain that this will be what your recipients receive.
Cancelling Cheques
Before cheques are sent out to printers, PostGrid offers the ability to cancel your mail. Cheques sent from PostGrid will not be sent to printers until after midnight in Toronto. During this period, simply press the "Cancel" button and confirm your choice in order to prevent the cheque from being sent.

