Creating Templates with HTML
Templates serve as the foundation of any mail and can be customized extensively. This includes the ability to include variable data, such as names or email addresses, just to provide a few examples.
To create a template, navigate to the left side of the dashboard and click on 'Templates' under the Resources section.
If you have previously created templates, you can find them right here. You can use the search functionality to find templates with certain descriptions, specific IDs, or that were created on a specific date. Don't be too intimidated by knowing the template ID if you don't plan on using the API. For those who will, remember that you can always find the template ID you need by heading to this page. This page is also useful if you wish to come back and fix or delete a template, which can be done by simply finding and selecting the template you wish to modify. Additionally, you can copy every template created in Test mode to Live mode by clicking 'Copy To Live Mode'.
If you don't need to create a template but instead already have PDFs ready to send to specific contacts, you can proceed with creating your first order.
To create a new template, navigate to the 'Create Template' button located in the top right corner.

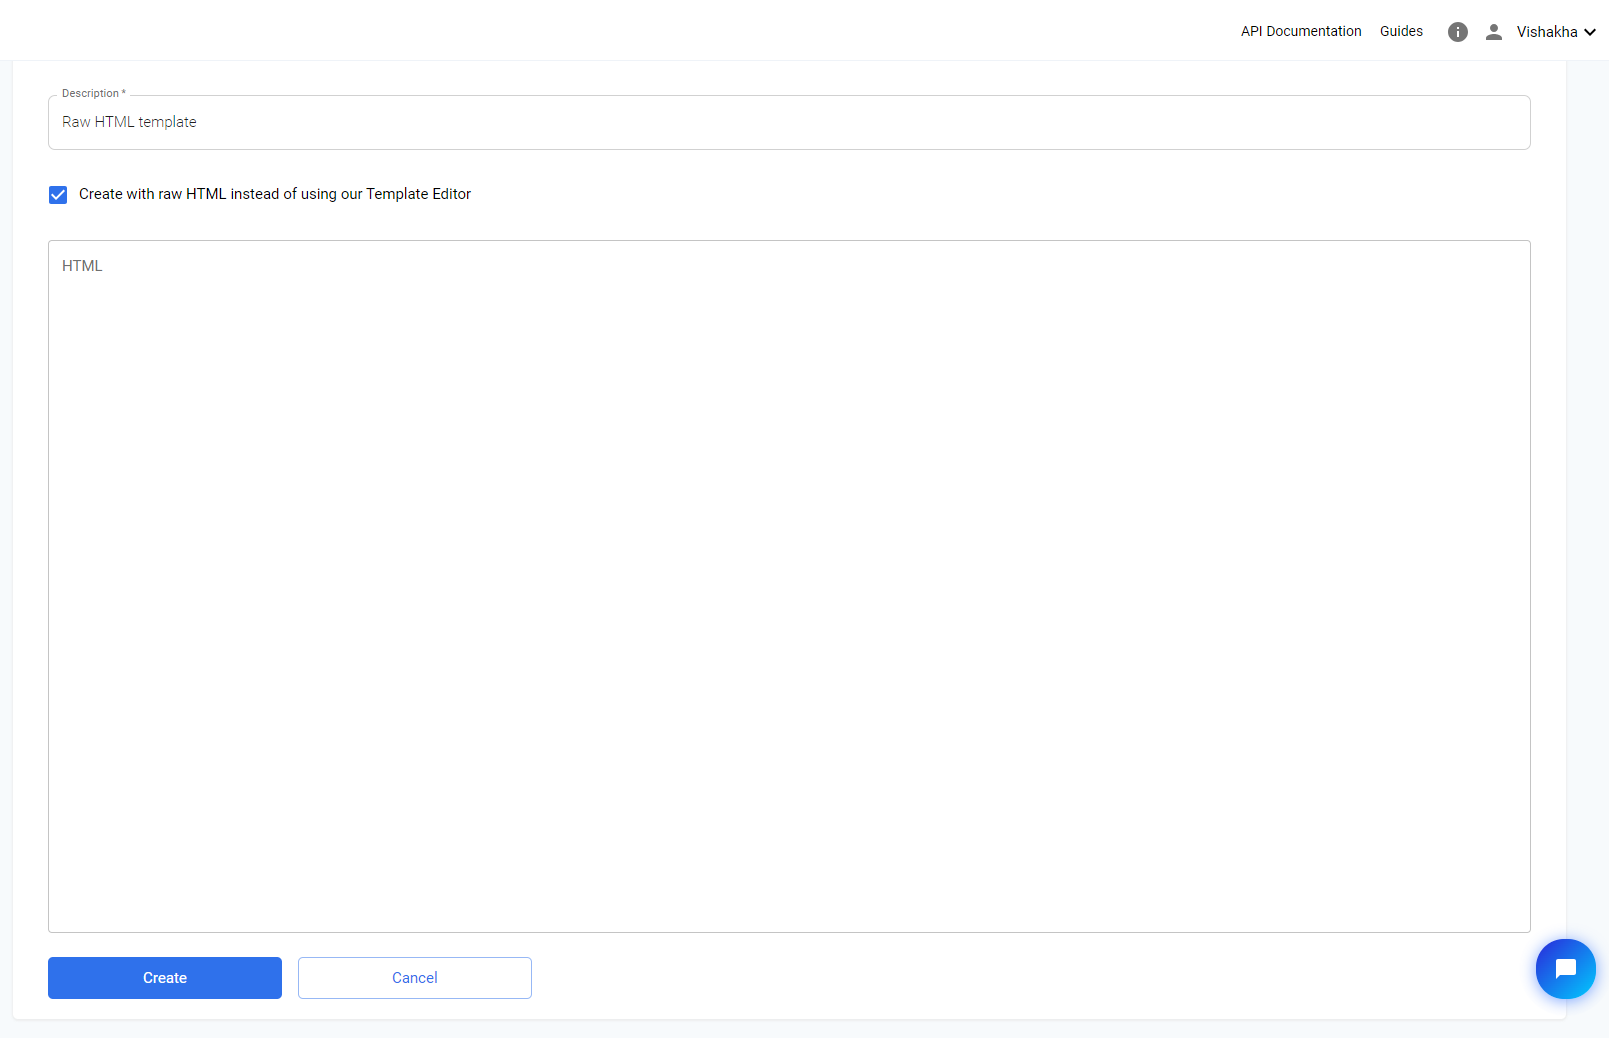
The HTML creator page will open. In here, you can insert whichever HTML content you would like to send as long as it is contained in a single HTML file. This would require that any styling must be done inline as
<div style="color:red">or by including style tags within the <head> such as
<head>
	<style>
		.narrow: {
			width: 19px
		}
	</style>
</head>
Keep in mind that this document will be converted to be printed. To get an idea of how it will turn out, use the print preview feature of your browser. PDF preview of the actual mailings can be found only once the orders have been created. Please adhere to the Design Guidelines when designing the HTML for the mailings.
Updated 10 months ago