Activating the Journey
After setting up the Data Extension as the entry source and adding the PostGrid Custom Activity as the message step in your Journey, it’s time to activate your Journey.
Click on Schedule to Schedule the Journey.
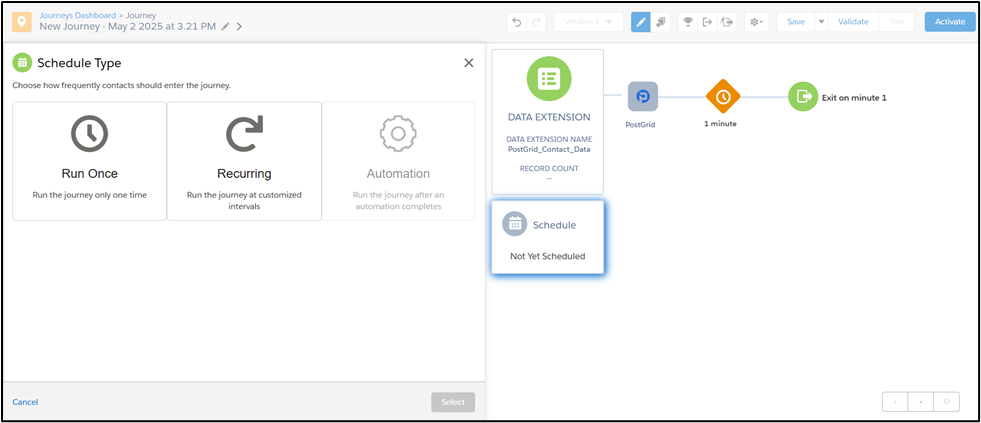
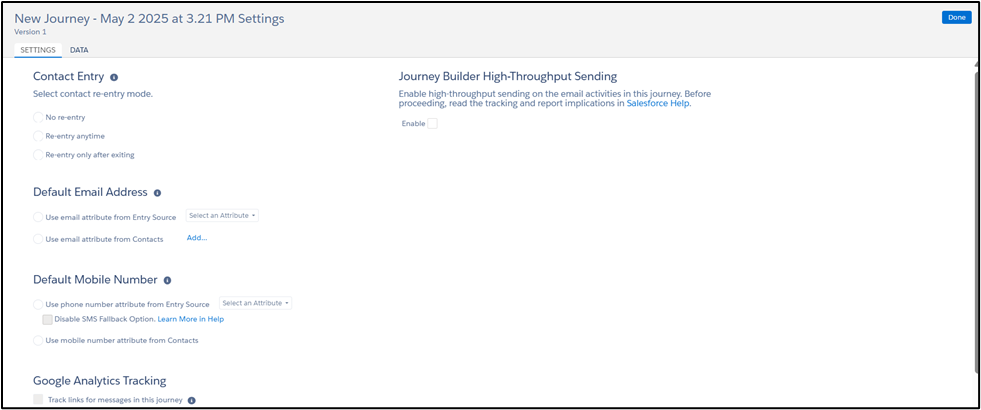
Then, configure Journey Settings by clicking on Gear Icon and then choose the Contact Entry.

Click on Validate to validate the Journey. Below screen shows Custom Activity Journey Validation is in progress.

Journey Validation Complete.
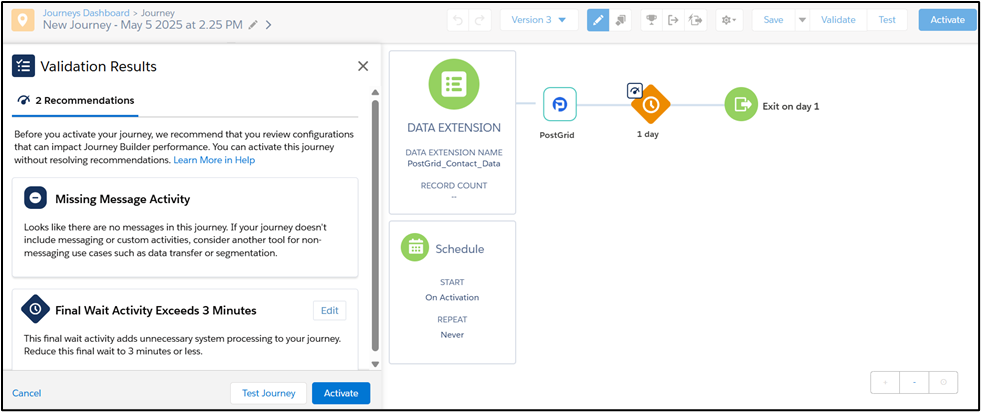
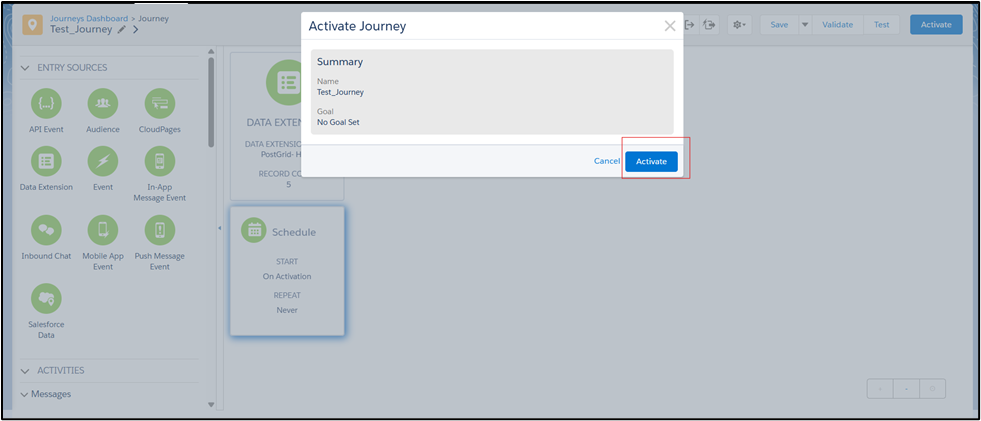
Click on Activate button under Validation Results
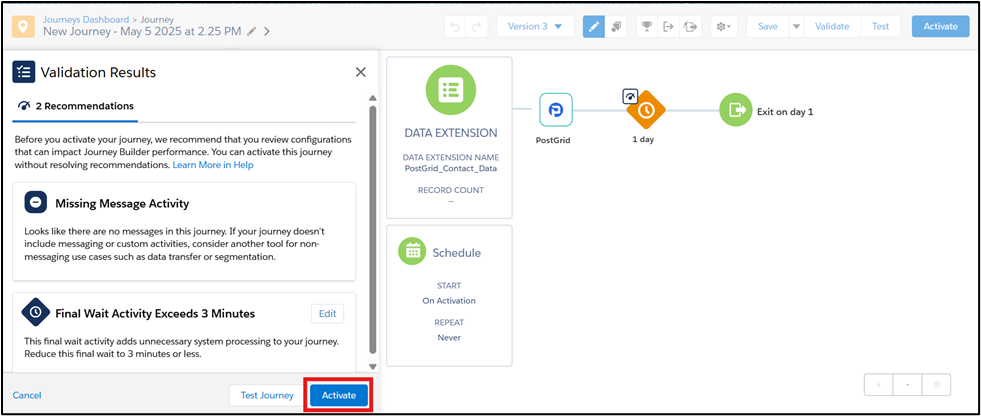
Click on Activate button for activating the journey.
Click on the Return to Journey button.
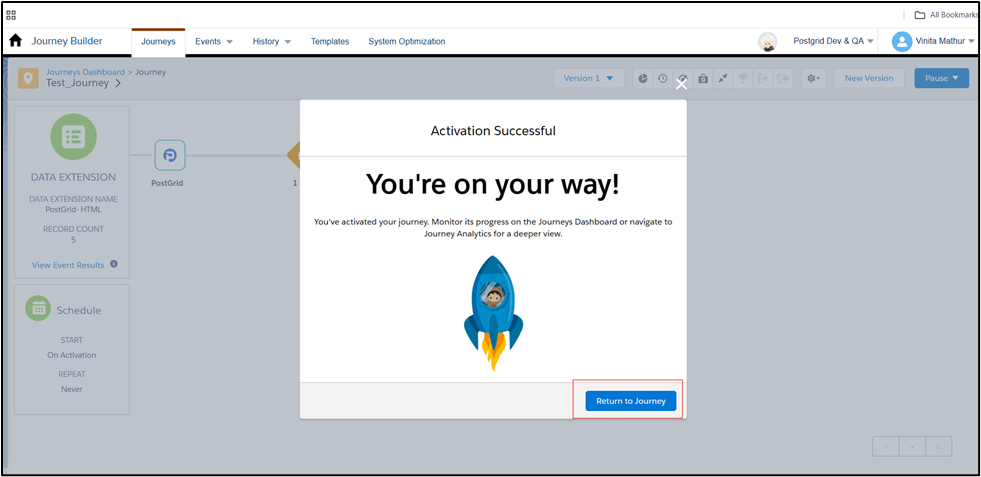
Now the Journey is activated and the orders will start to be created as you have defined in your Journey.
Updated 10 months ago
Did this page help you?