Customer.io
When your business requires sending mail in an effective in scalable manner, PostGrid has your solution. In this guide, we will examine how to send Print & Mail using Customer.io's Campaigns feature. In particular, this guide will demonstrate how to send a test letter through Customer.io.
Overview
There are four stages in the process of sending mail with PostGrid
- Creating a Campaign
- Creating a Trigger for the Campaign
- Adding Webhooks to the Workflow
- Sending and Receiving the Necessary Information
Customer.io Setup
After entering the Customer.io dashboard, you'll need to ensure that you have both a verified email and account in order to successfully create and use campaigns. Refer to these docs for more information.
Creating a Campaign
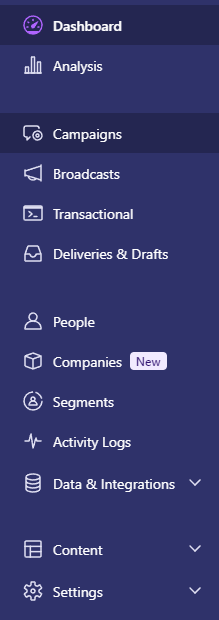
Moving back to the Customer.io dashboard, click the Campaigns button found on the left sidebar menu.
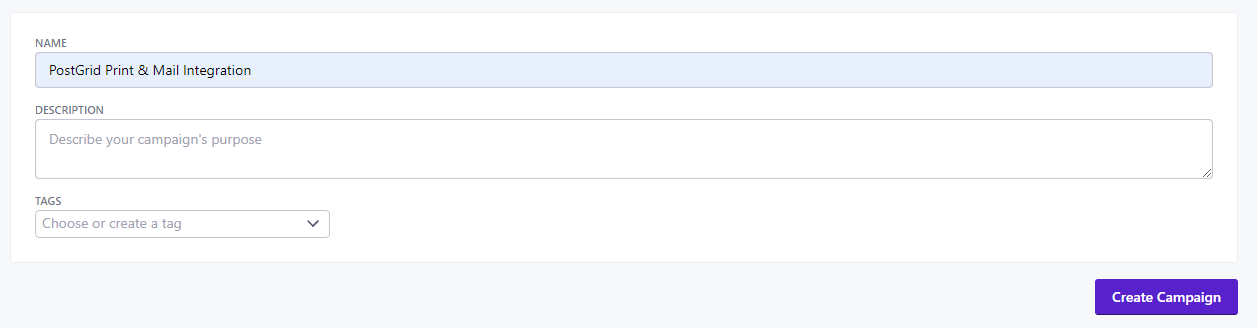
To create a new campaign, we want to select the Create Campaign button found on the top right hand corner of the Campaigns page.

After naming your campaign, select the Create button to proceed to the campaign options.
Creating a Trigger
A trigger is an event that initiates the campaign to proceed with the actions that it has been set up with. You will need to add an appropriate trigger that you want to use PostGrid's Print & Mail services for.
For this guide, we will be using the When a person moves in or out of a segment trigger, which activates whenever someone enters or leaves a segment that you have created on Customer.io.
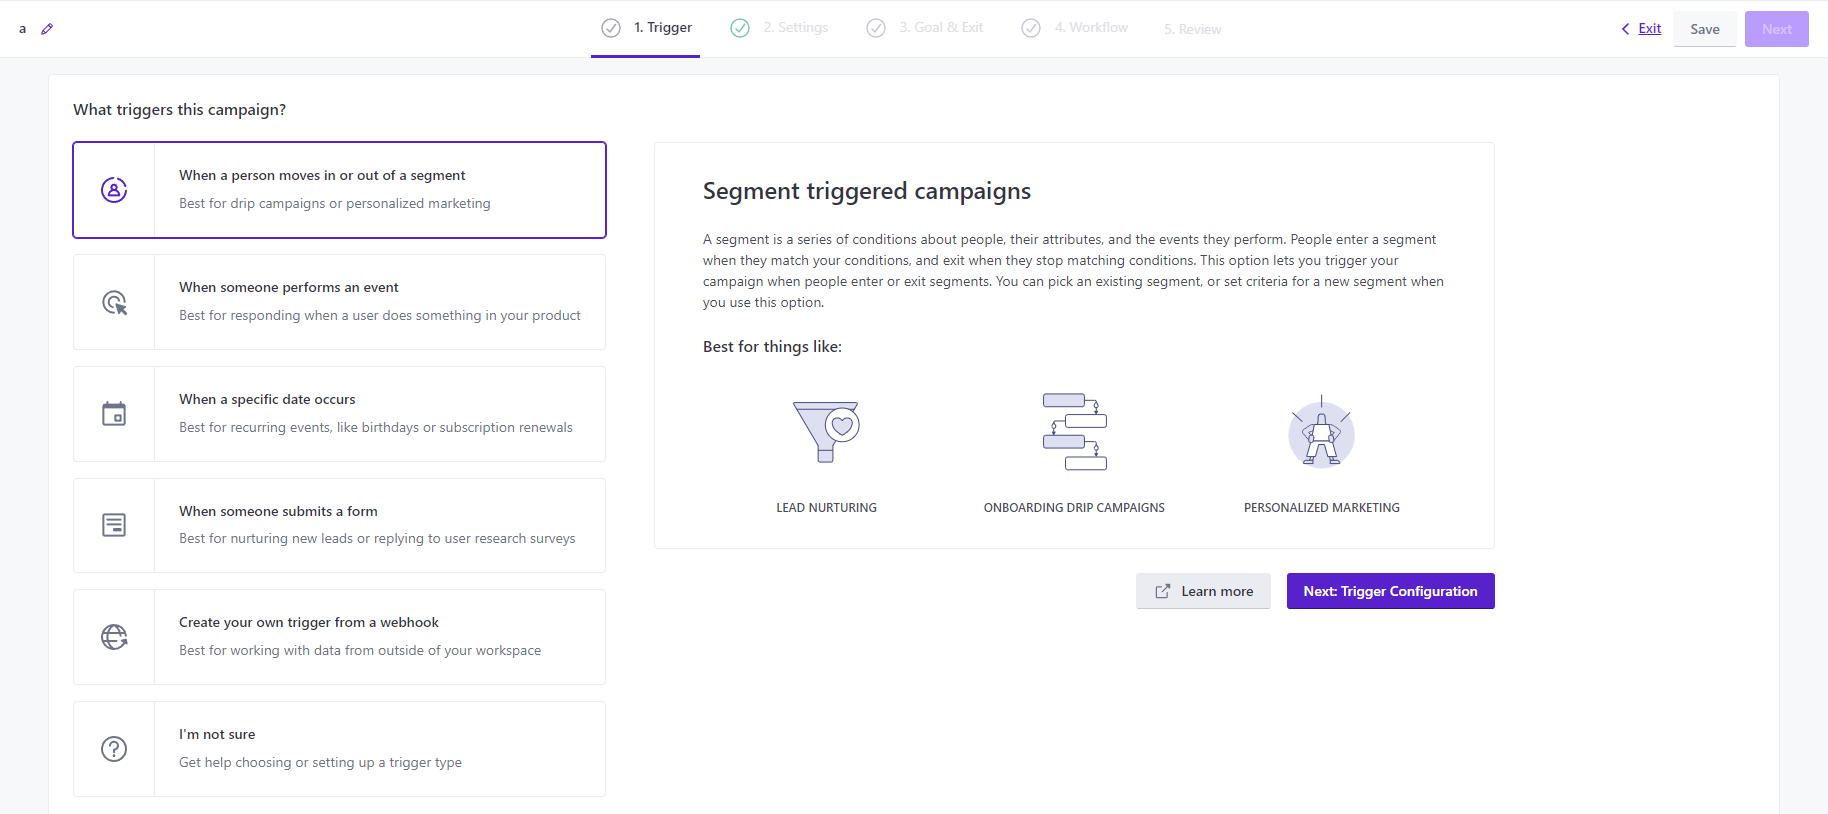
Proceed to the trigger configuration, by pressing the Next: Trigger Configuration button as shown in the image. The following settings will be dependent on what you would like to trigger the campaign. For this guide, we will be selecting the Signed Up trigger condition. Read more about Customer.io triggers here.
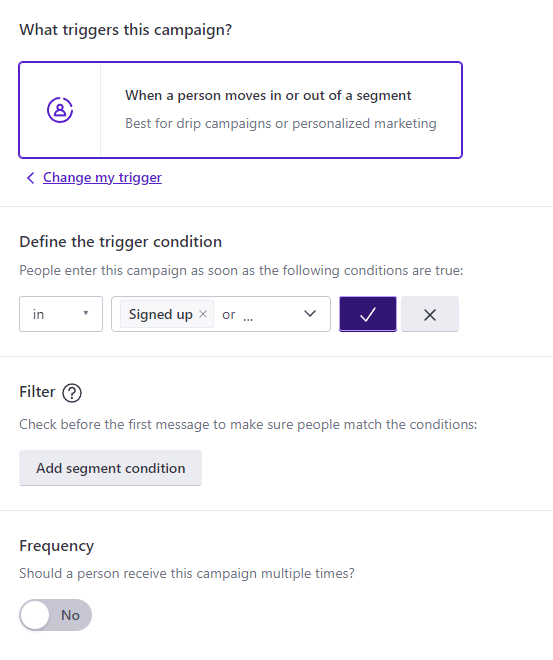
After selecting the desired trigger conditions, proceed to the next page with the Save & Next button on the top right hand corner of the page.
This guide will use the default settings provided for the campaign. Once you are satisfied with the settings, please continue to the Goals & Exit step by clicking on the Next button once again.
For this guide, we will be using the No Goals option. Read Customer.io's documentation on goals here.
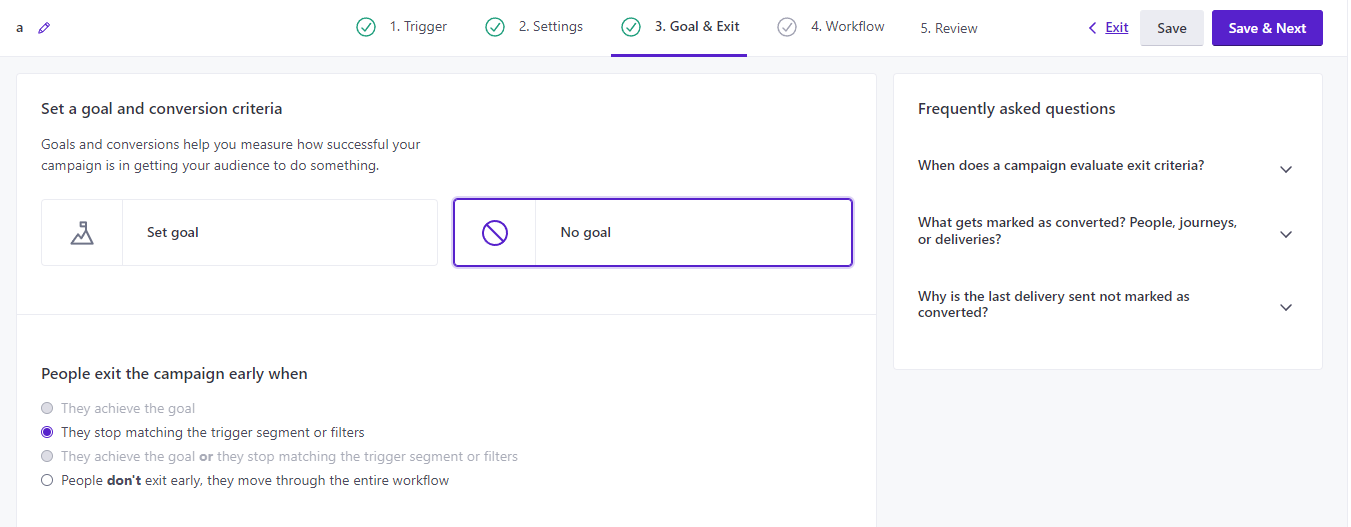
Once again, proceed to the next step of the campaign creation process and here you will find that we can define actions to be run after our trigger is set off.
Adding Webhooks to the Workflow
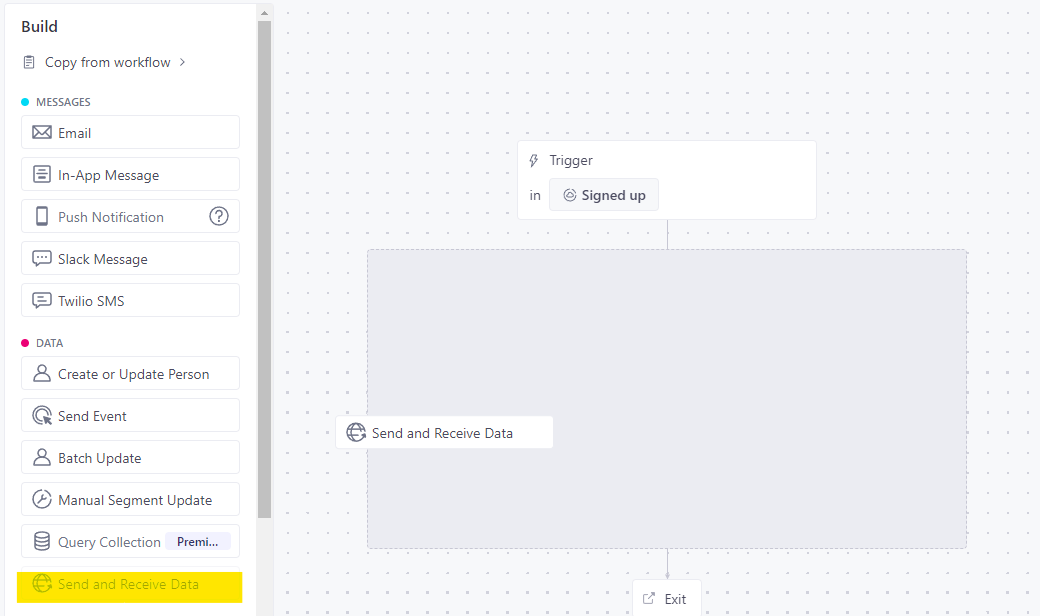
An action is an event that the flow will run after the trigger is set off.
In order to access PostGrid's Print & Mail services, we will need to use a webhook to send information to PostGrid. As such, we will need to find the Send and Receive Data option from the left-hand side menu and drag it onto the workflow.
Next, we will want to setup the webhook to communicate with PostGrid's Print & Mail services. Select the webhook that was just dragged onto the workflow, and you should find a Add Request button that has appeared on the left side panel.
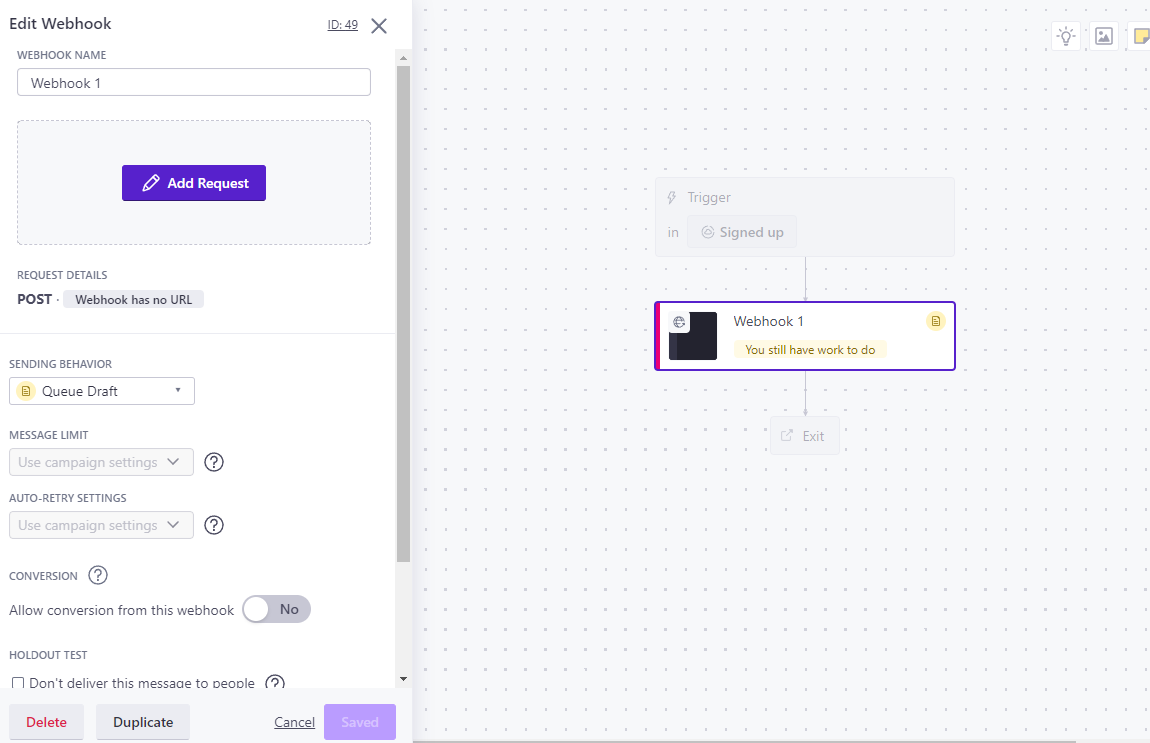
Depending on whether or not you want the webhook to automatically send a request to PostGrid, you may want to change the SENDING BEHAVIOR to Send Automatically, rather than Queue Draft.
Sending and Receiving the Necessary Information
In the configuration window of the webhook, we will need to fill out 4 fields.
- Request type
- Request URL
- Headers
- Request Body
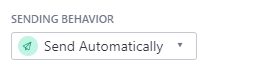
Filling in the Request Type and URL
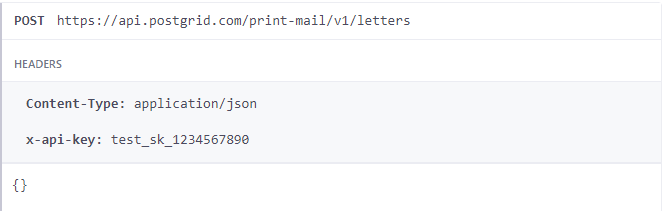
The value of these two fields depend on the PostGrid Print & Mail endpoint that you want to be triggered. For this guide we will be using the Create Letter endpoint, which is:
https://api.postgrid.com/print-mail/v1/letters
This is a POST endpoint, which means that it is creating new data, as opposed to deleting or retrieving data.
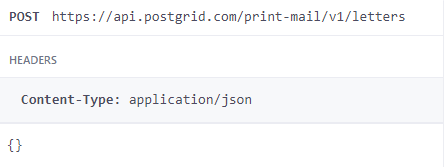
You can find the corresponding type and URL for other actions such as creating a contact, under our API Guide. To find the URL for the API endpoint simply navigate to the desired feature, and copy the URL found under the main header for that page. You can also find the request type beside the request URL.
From this image, you will notice that creating a contact uses a POST request, while getting and listing contacts use a GET request type.
Filling in the Headers
Apart from the default headers provided, the only headers required for this guide will be a key, value pair labeled x-api-key. This will be your API key provided PostGrid, which can be found under Settings in the PostGrid dashboard. Click on the Add header button in order to add your API key.
This is a unique key used by PostGrid to associate and authenticate a given request with your account.
Note: Please be sure to enter the Test API Key if you wish to test orders and the Live API Key only if you are sure about your order.
Filling in the Request Body
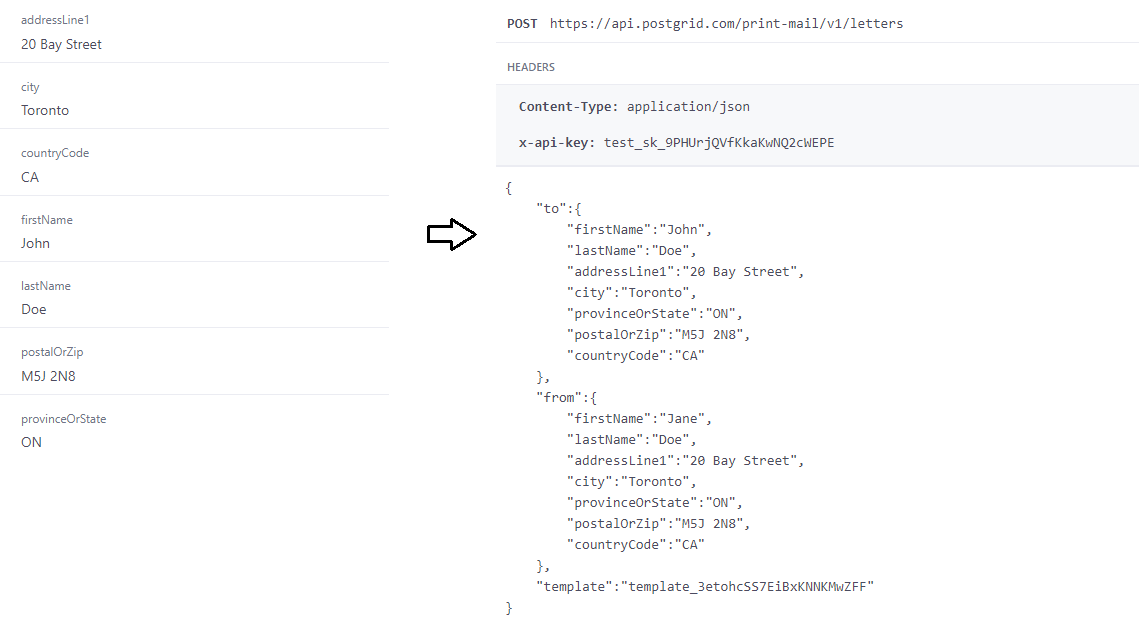
The data in the request body is what allows PostGrid's Print & Mail services to know the specific details of the mail you are sending, such as the recipient, the sender, and even the contents of the mail itself. For the purposes of sending a letter, we will need to provide the required fields as defined in the Body Params of the letter section of the API guide.
Note: Instead of providing HTML for the letter, you can simply provide a template_id for the desired template. Learn more about creating templates [here](https://postgrid.readme.io/reference/creating-templates-using-the-dashboard.
Here is an example of the possible data you may want to fill in as the JSON body:
{
    "to":{
        "firstName":"{{customer.firstName}}",
        "lastName":"{{customer.lastName}}",
        "addressLine1":"{{customer.addressLine1}}",
        "city":"{{customer.city}}",
        "provinceOrState":"{{customer.provinceOrState}}",
        "postalOrZip":"{{customer.postalOrZip}}",
        "countryCode":"{{customer.countryCode}}"
    },
    "from":{
        "firstName":"Jane",
        "lastName":"Doe",
        "addressLine1":"20 Bay Street",
        "city":"Toronto",
        "provinceOrState":"ON",
        "postalOrZip":"M5J 2N8",
        "countryCode":"CA"
    },
    "template":"template_3etohcSS7EiBxKNNKMwZFF"
}
Getting the contact information
Instead of specifying the specific contact details, another option is to simply provide a contact_id. As a result, the from field may instead look like.
"from":"contact_avPKdFJpXUxjFnnvccKzYR",
You have have also noticed that the to contact may use some rather unconventional notation. The to contact uses some custom Customer.io attribute fields. For example, by creating a customer with the following attribute fields, the previous request will actually become:
Read more about Customer.io's attribute fields here.
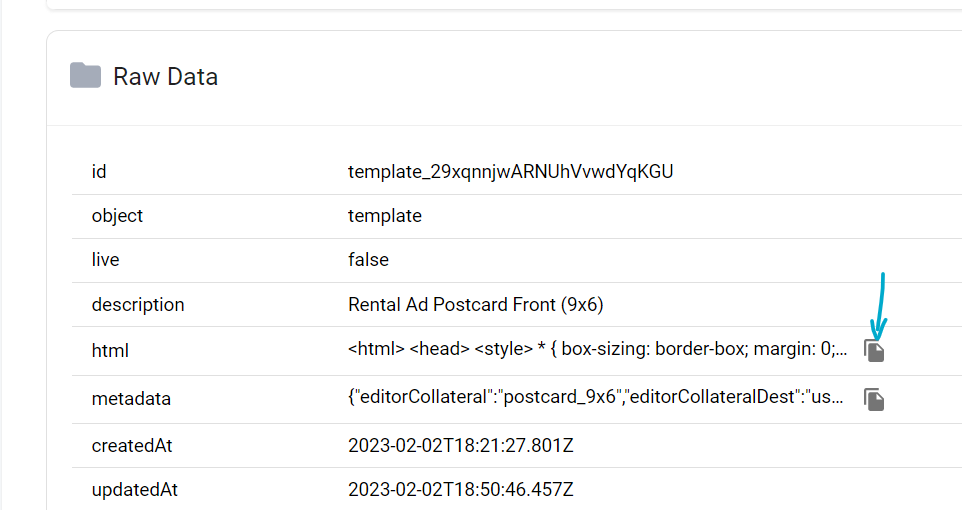
Getting the HTML and Template
If you've created your template using HTML, you can use that directly in the html field and replace the template field. If you've used our template editor to create your template, you can copy its HTML for use on Customer.io via the Raw Data section
Wrapping Up
To test the flow, simply click on the Send test... button.
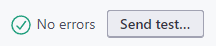
Then on the Send Test Request button.
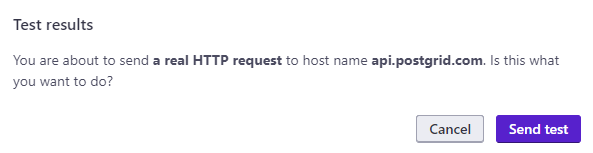
Note: Using the Live API Key will send a real order.
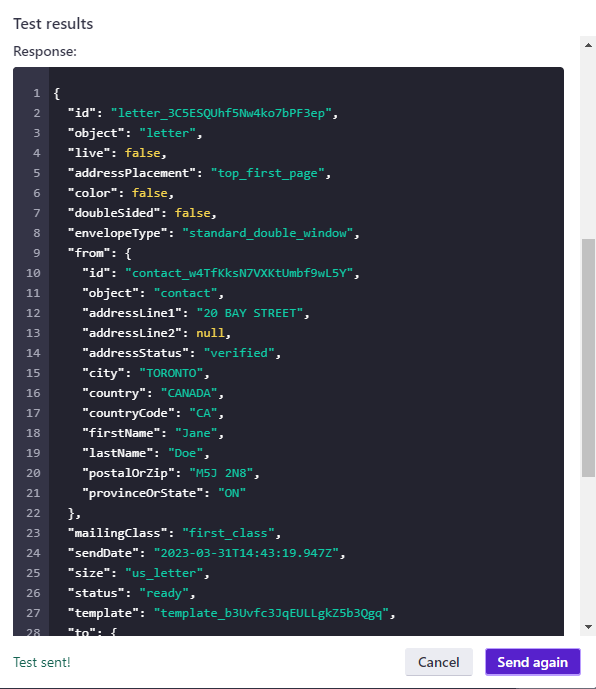
If the webhook is setup correctly, you will notice a notification that the request has been sent correctly. You should also notice that a letter has been created on your dashboard with the same details that you have provided in the request body.
After verifying that everything is setup correctly, you can set the launch the campaign. Now you can access your desired PostGrid Print & Mail service through Customer.io!
Updated 10 months ago