Installation and Configuration
Pre-Installation Steps
Before installing and configuring the PostGrid package in SFMC, ensure that you have the necessary permissions and access.
Prerequisites
- Admin access to SFMC.
- PostGrid API credentials (Test and Live API Keys).
- A configured SFMC Business Unit.
- Access to Journey Builder, Email Studio, and Data Extensions.
Install and Configure the Package
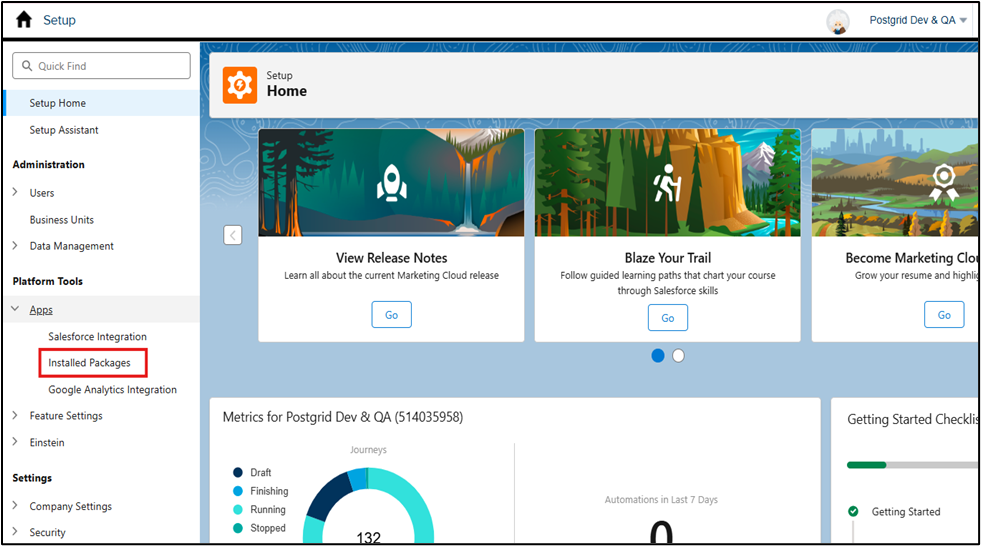
Log in to Salesforce Marketing Cloud, click on your name in the top-right corner, and then click Setup.

Search for the Installed Packages in the quick find box.
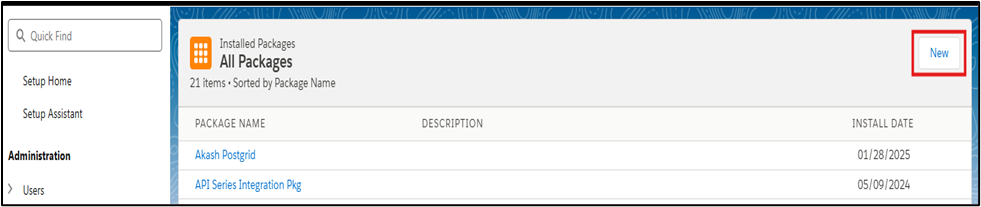
Click on New in the top-right corner.
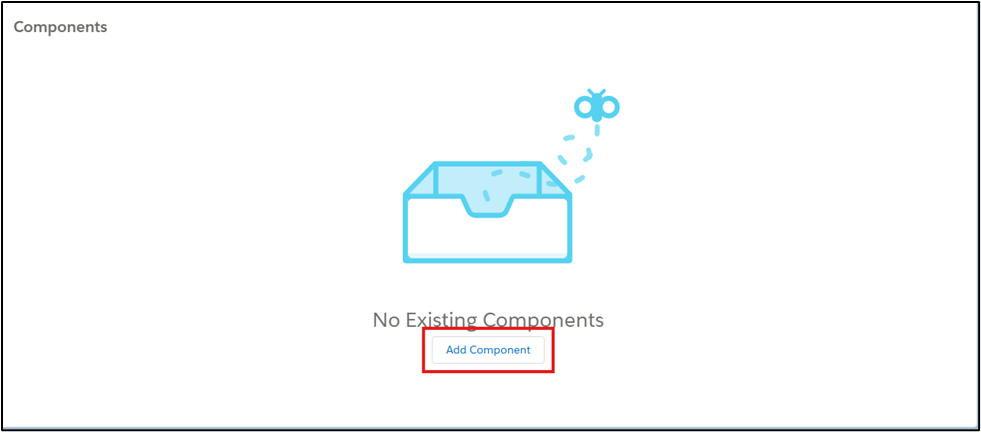
Enter the package name and description, and click on Add Component.
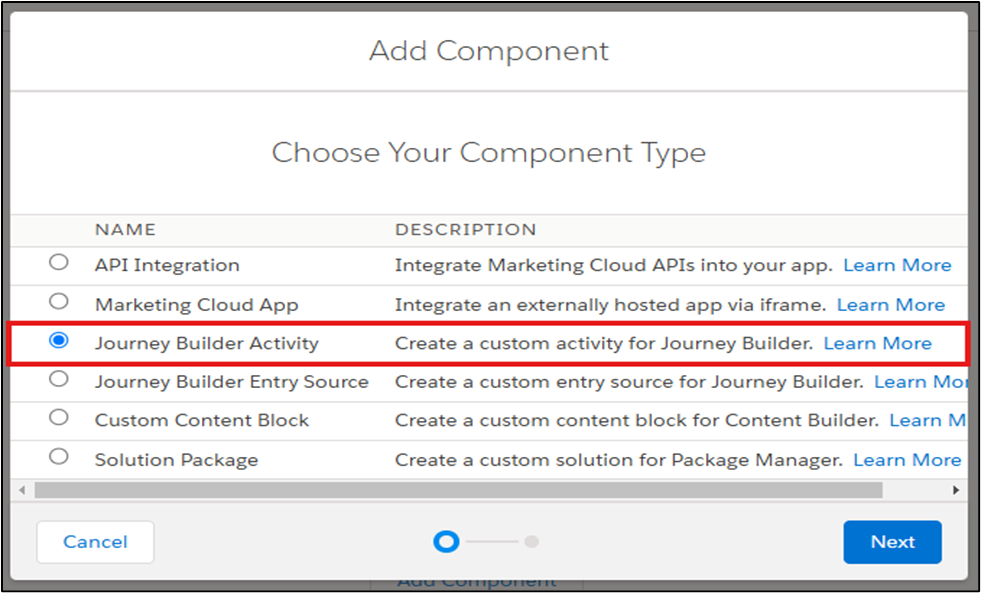
Select Journey Builder Activity.
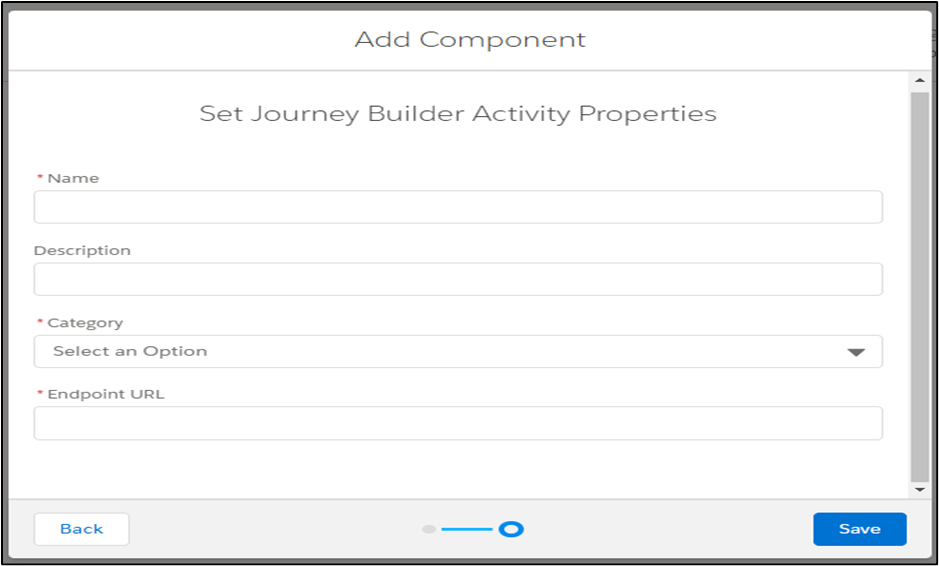
Enter the Name, Description, and Endpoint URL, and select Category as Messages.
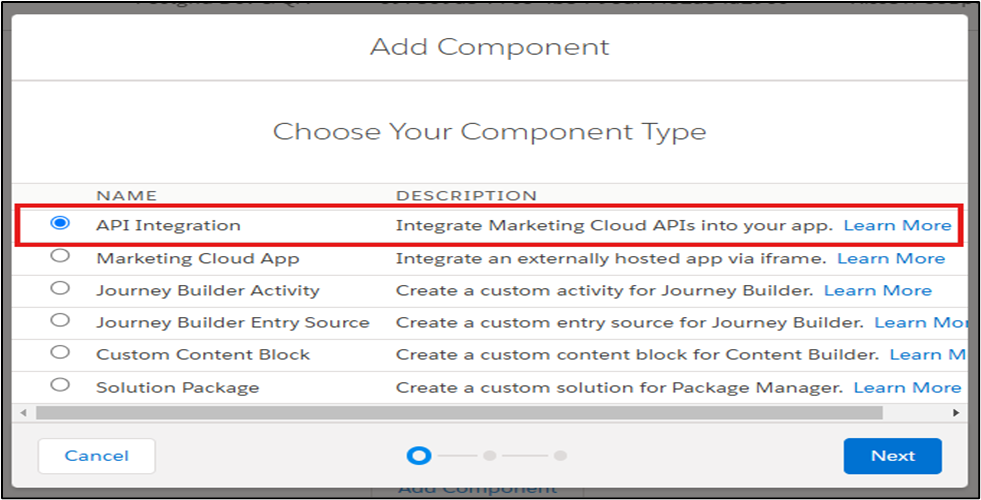
Select API Integration
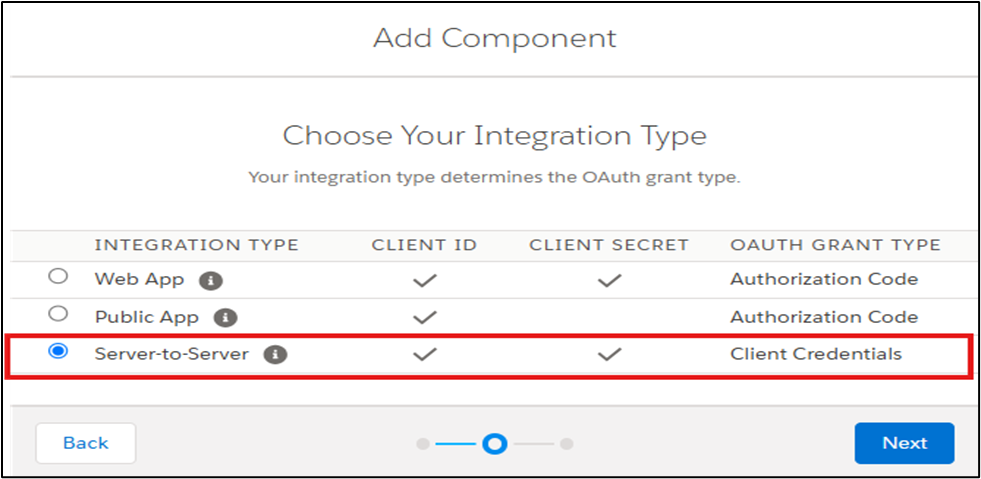
Select Server-to-Server.
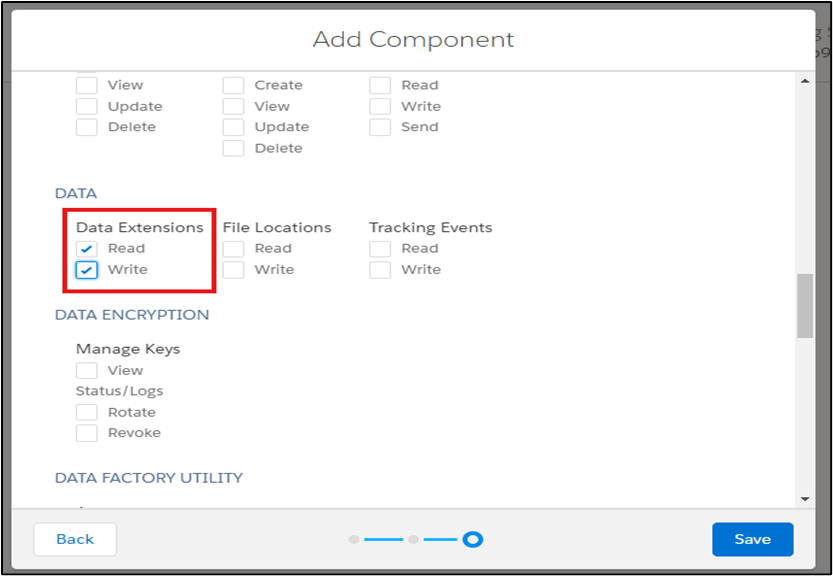
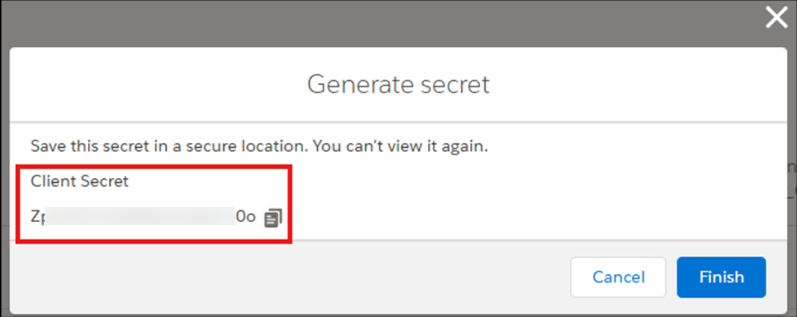
Select the checkbox for Data Extensions Read and Write permission, Click on the Save button to save the Package.
Copy the Client Secret for future reference. This will be needed later.
Post-Installation Configuration
Once the package is installed, configure and deploy the necessary Data Extensions and Cloud Pages.
Deploying Data Extensions and Cloud Pages using JSON files.
Navigate to the Platform and Select Package Manager.

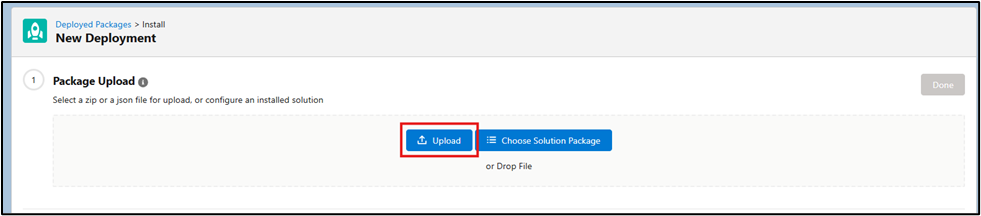
Navigate to the Deployment Tab in Package Manager.

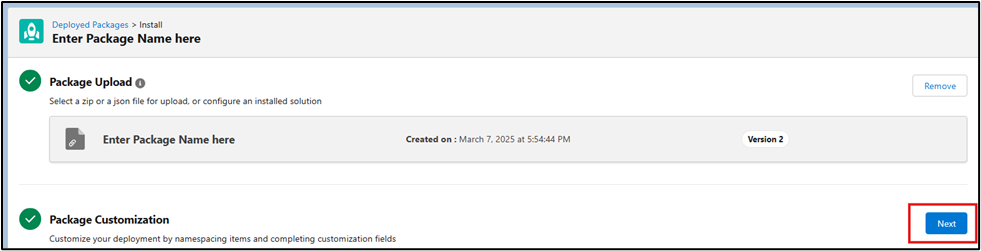
Click on Deploy and Upload a JSON File.
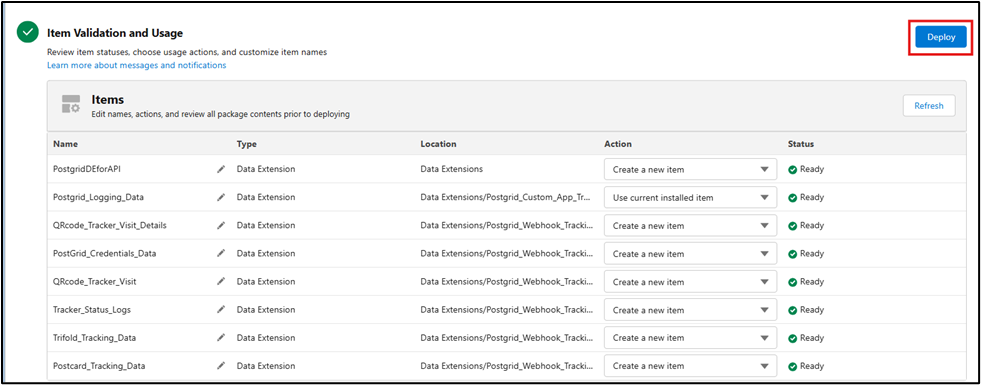
Click Next to validate the package.
Click Deploy to finalize the installation.
Verifying Data Extensions
Navigate to Email Studio.

Click Subscribers and go to Data Extensions.
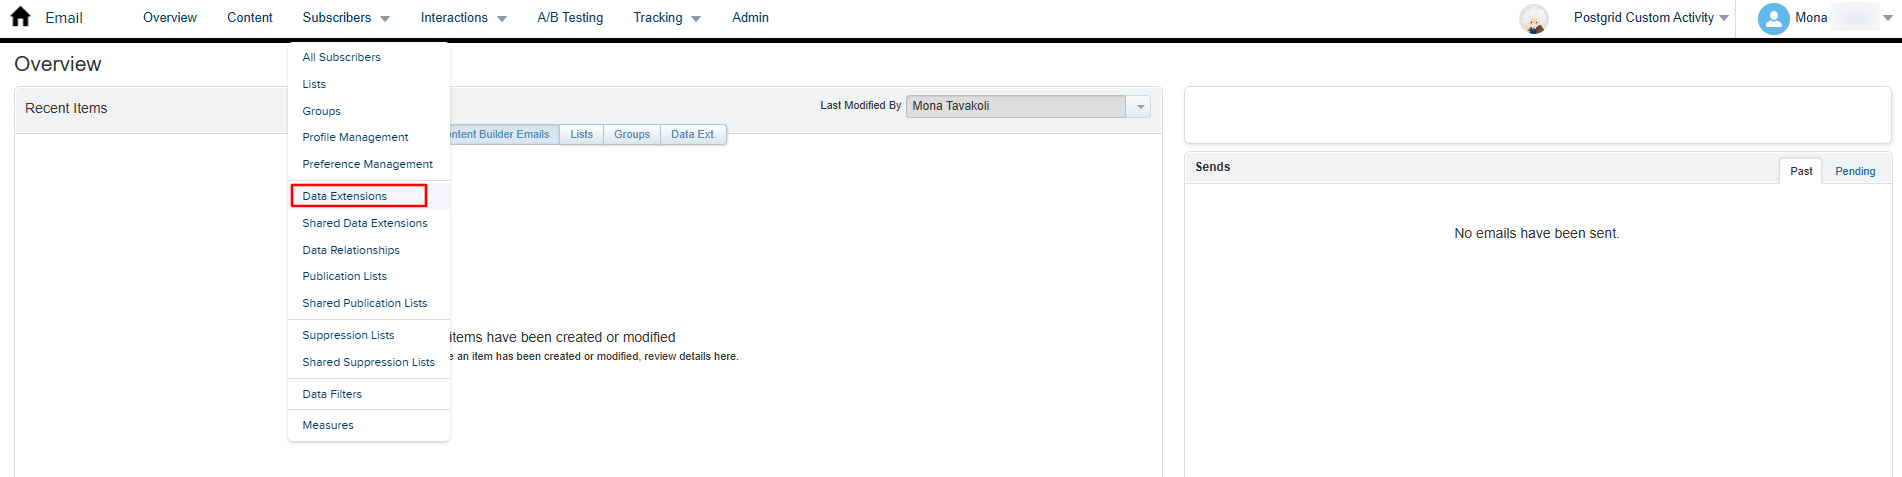
Check for the deployed Data Extensions:
PostGrid_Logging_DataQRcode_Tracker_Visit_DetailsPostGrid_Credentials_DataPostcard_Tracking_DataQRcode_Tracker_VisitTracker_Status_LogsSelfmailer_Tracking_DataPostGrid_Contact_DataLetter_Tracking_Data
Any additional fields added to the PostGrid_Contact_Data DE, apart from the key fields (First Name, Last Name, Company, Email Address, Address Line 1, Address Line 2, City, State, Country Code, PostalCode, SubscriberKey (Primary Key) ), will be treated as merge variable fields.
Store PostGrid credential
You need to store your PostGrid live and test the API key to the PostGrid_Credentials_Data data extension. This ensures that your credentials are automatically retrieved each time you access the custom activity within Journey Builder.
You can still change the API key from the custom activity interface in the journey for testing purposes or a one-time session for that specific Journey.
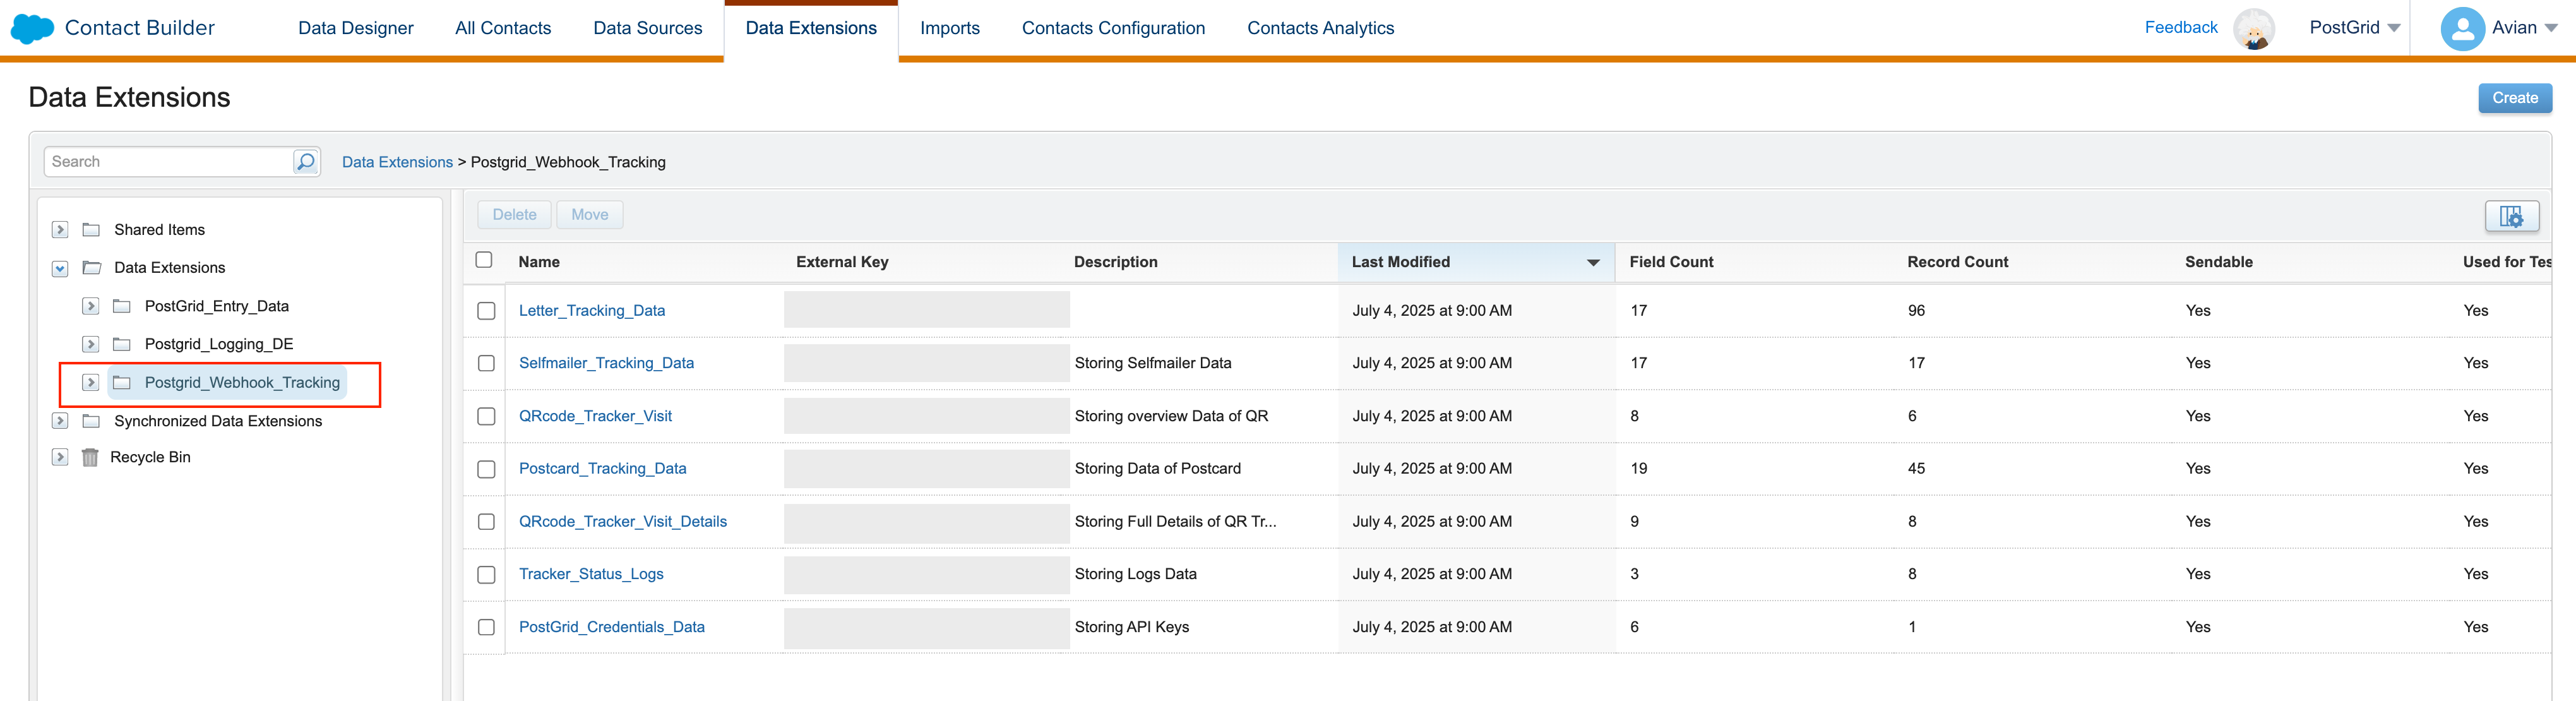
Navigate to Contact Builder.

Go to Data Extensions click on PostGrid_Webhook_Tracking and go to PostGrid_Credentials_Data.

Go to Records and click Add Record.

Set the Name as Postgrid-Cred
Set the TrackerURL as https://api.postgrid.com/print-mail/v1/trackers/
The values for LiveAPIKey and TestAPIKey can be found here: https://postgrid.readme.io/docs/overview#/api-keys
To get the Client_Id go to Setup > Search for "Installed Packages" > Click on Installed Packages > Navigate to the PostGrid package you installed earlier and copy the Client ID
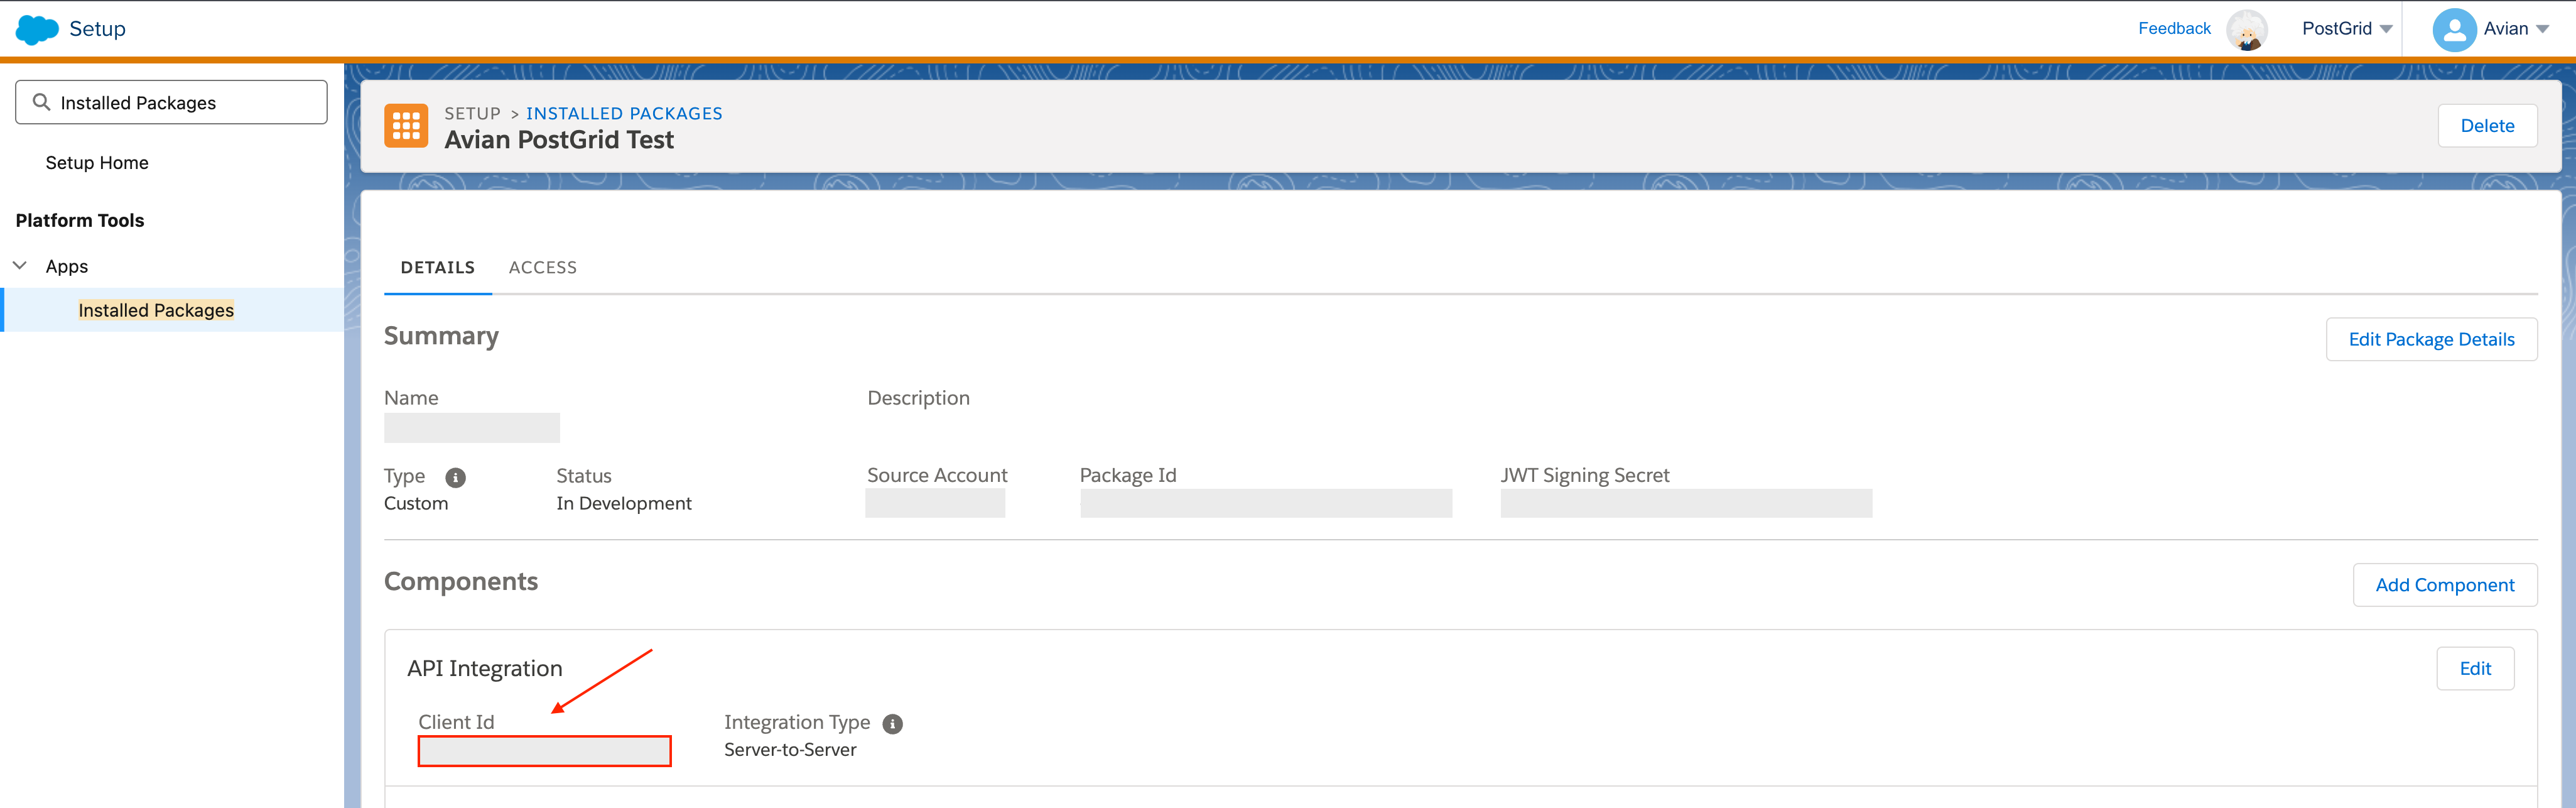
Set the Client_Secret to the value that was copied when installing the package.
Then click Save.
Webhook setup in PostGrid Account
In order to receive tracking data webhooks must be setup. A few preliminary steps are needed in SFMC.
Click on Web Studio and go to Cloud Pages.

Go to Postgrid Tracking Collection and go to Properties for the PostGrid-Tracking file.
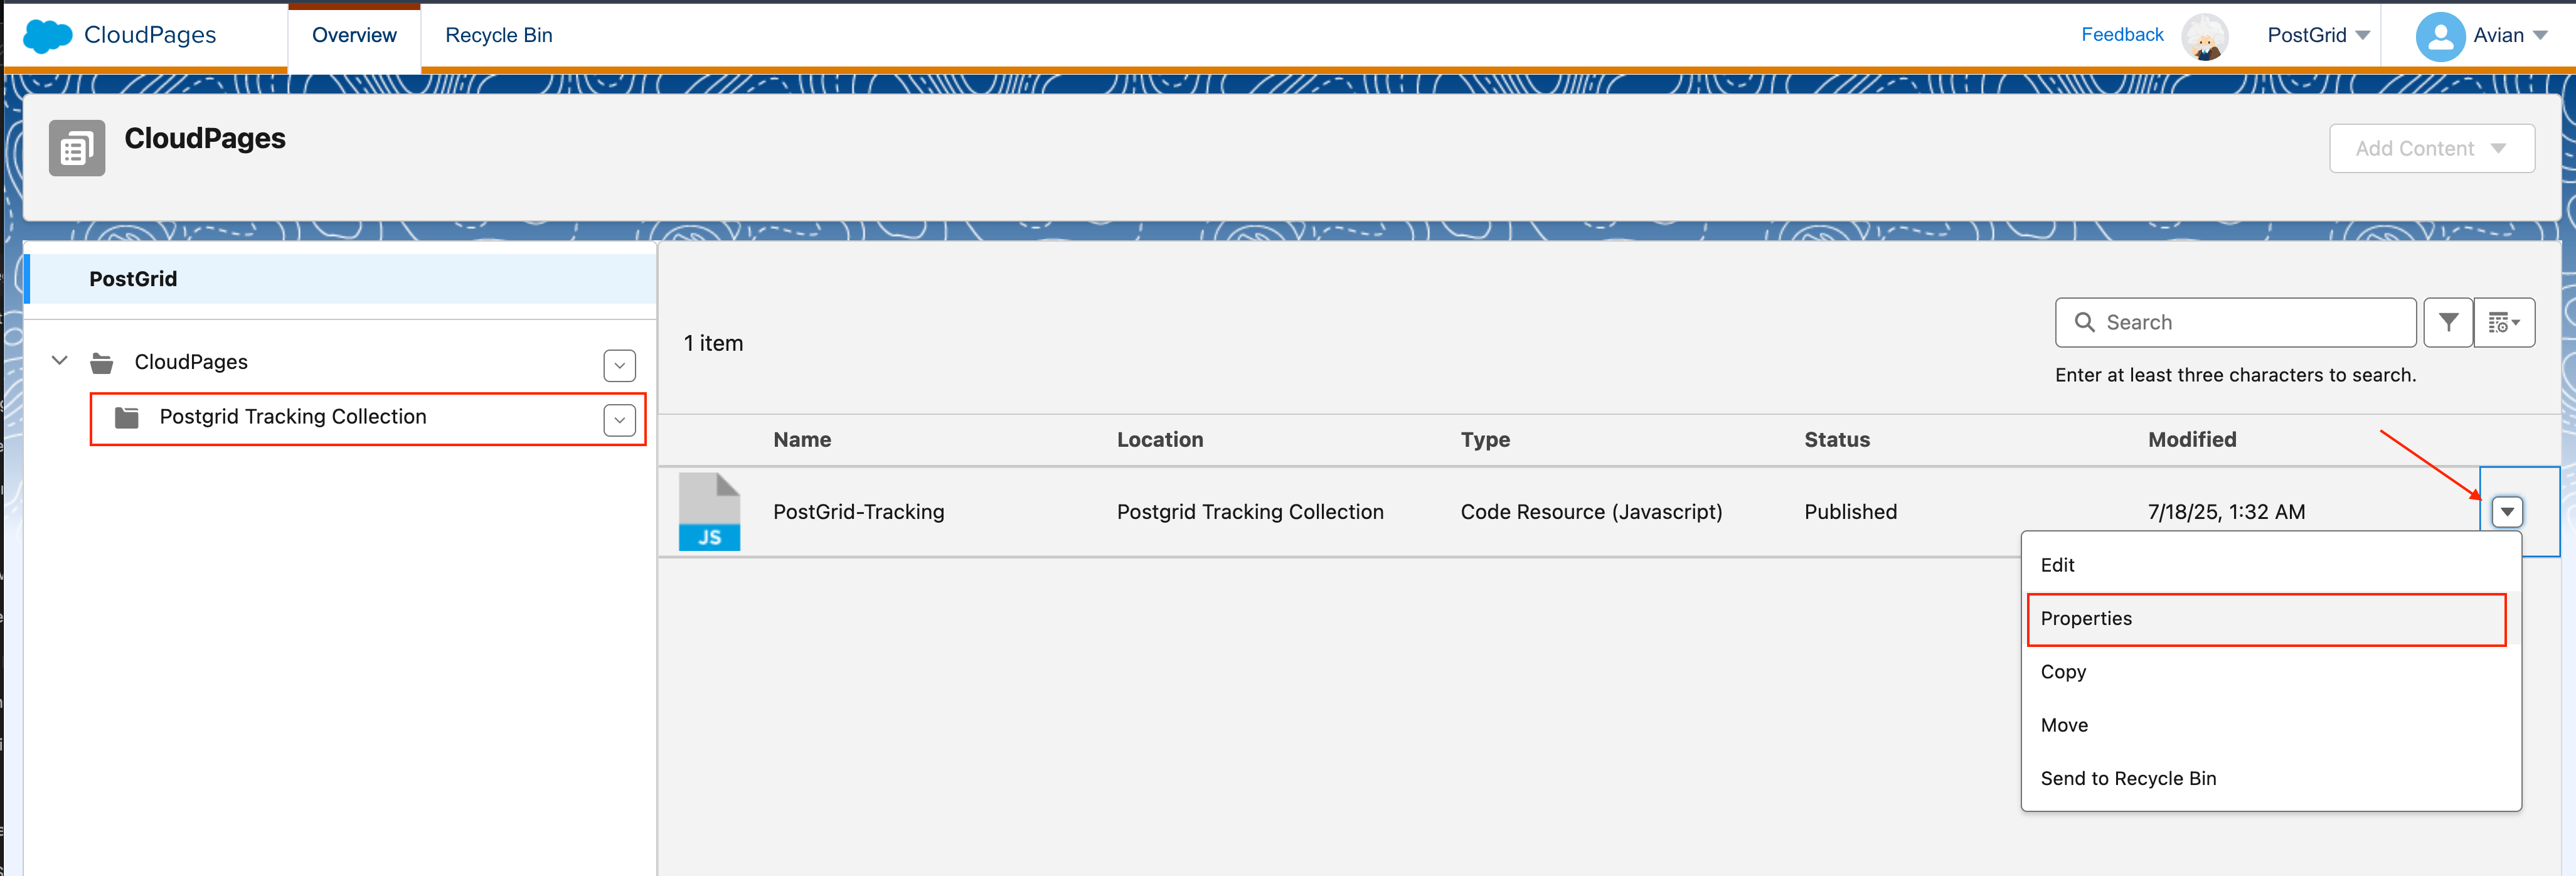
Save and Publish the file and then copy the URL.
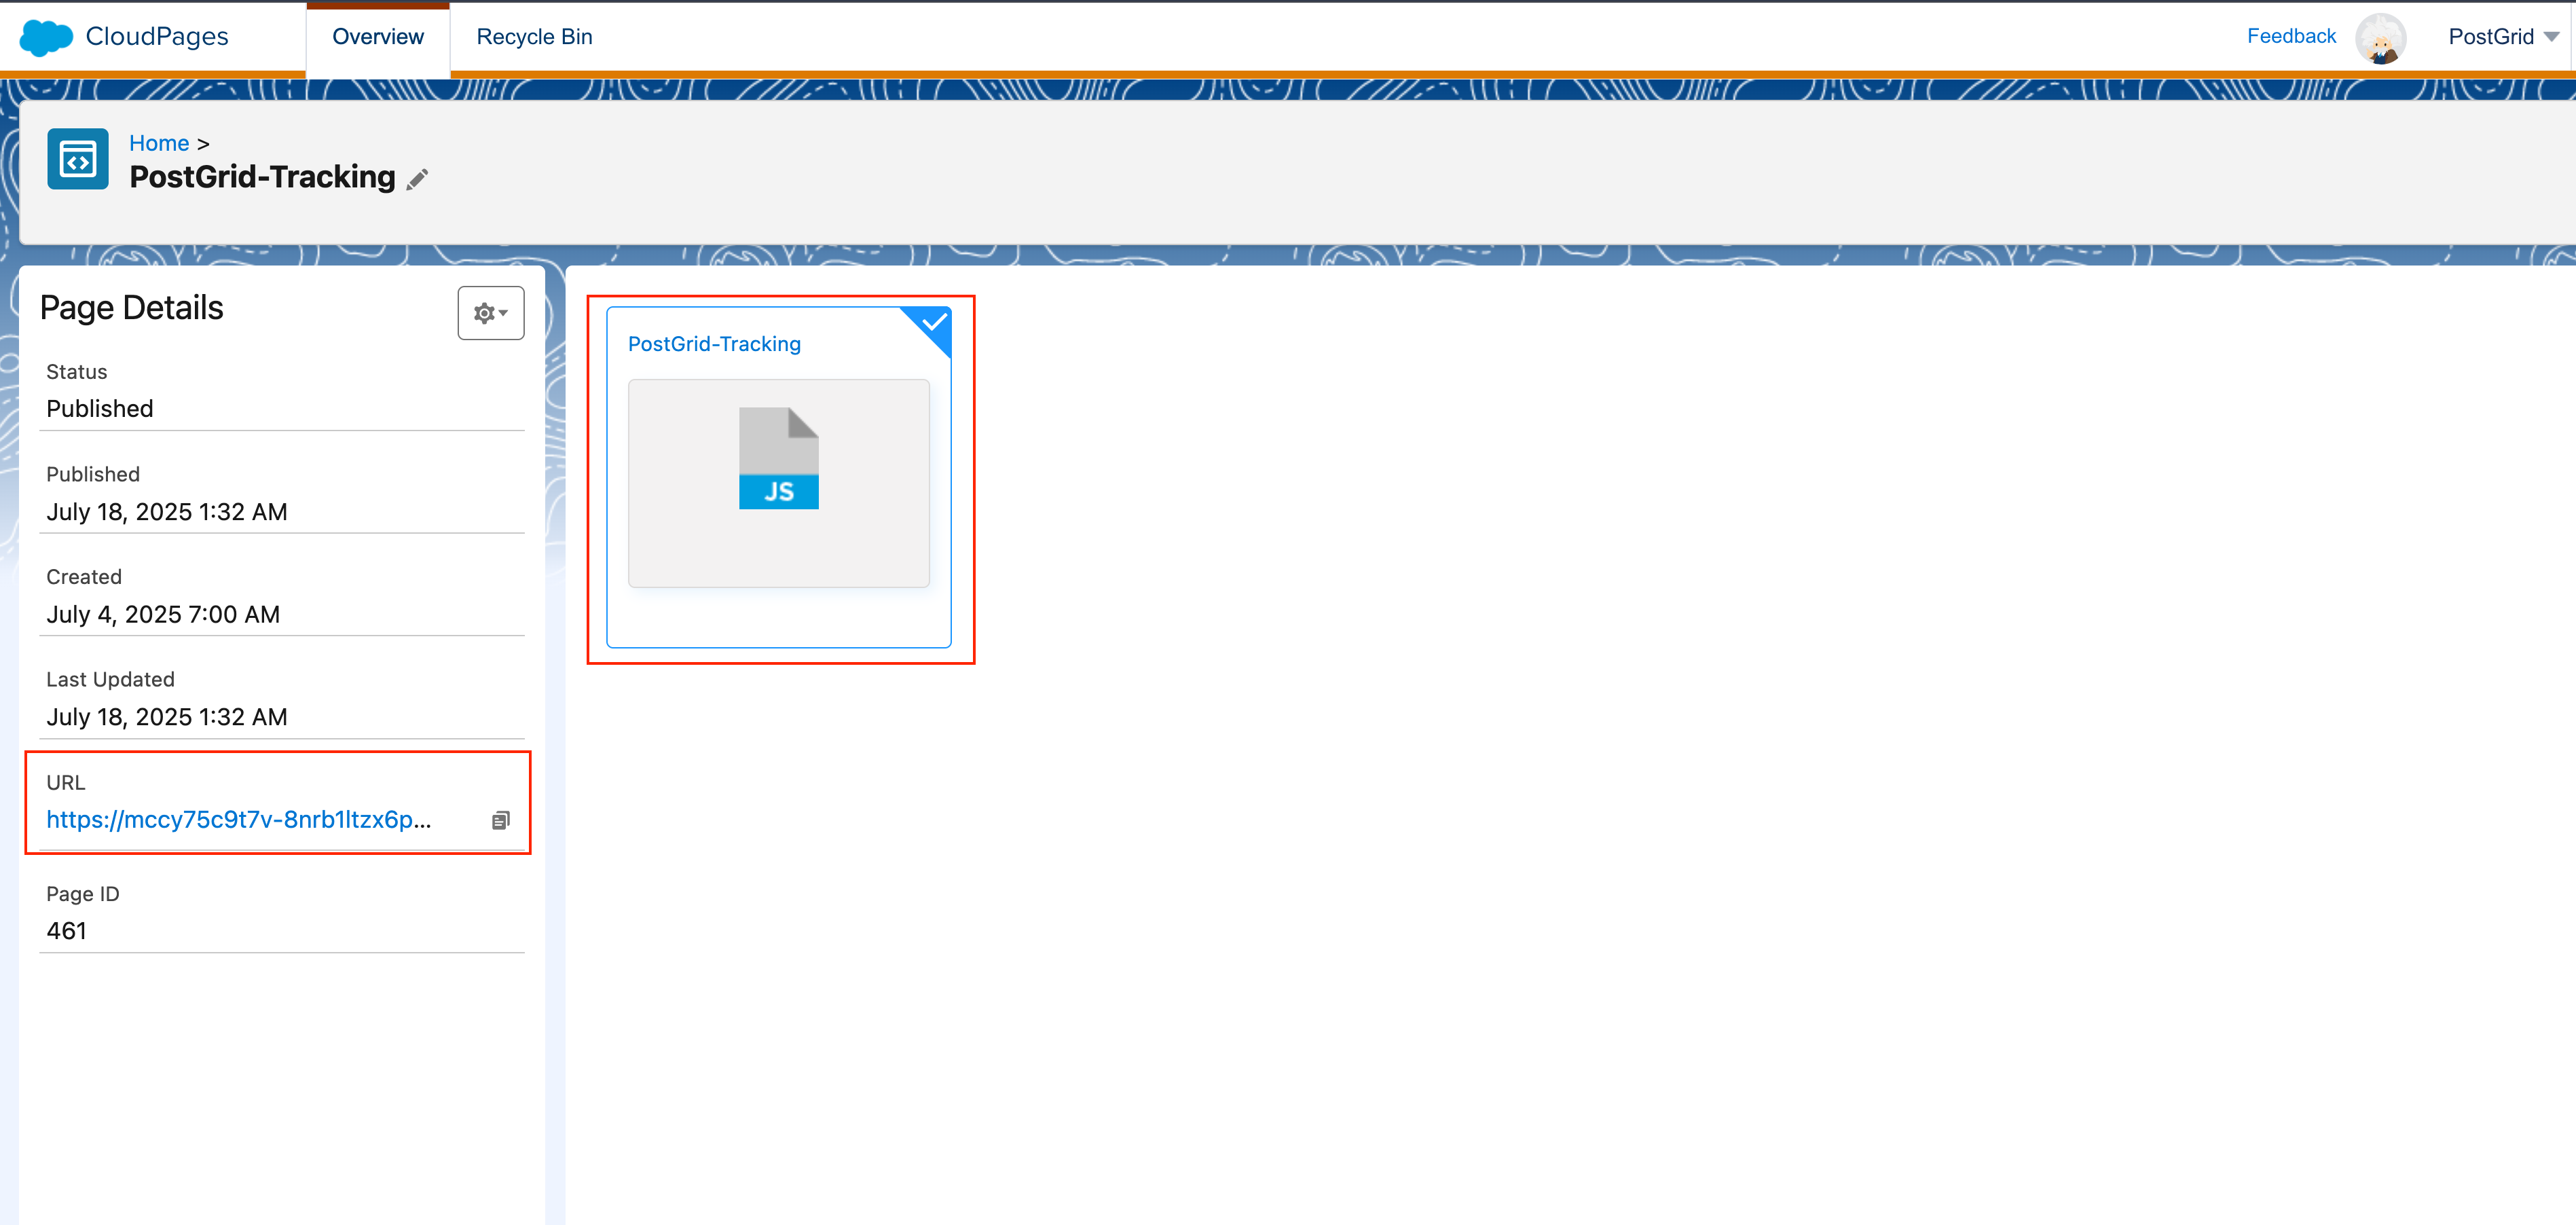
In your PostGrid account, navigate to the webhook page from the menu. Click on the Create Webhook button in the Top-right Corner.
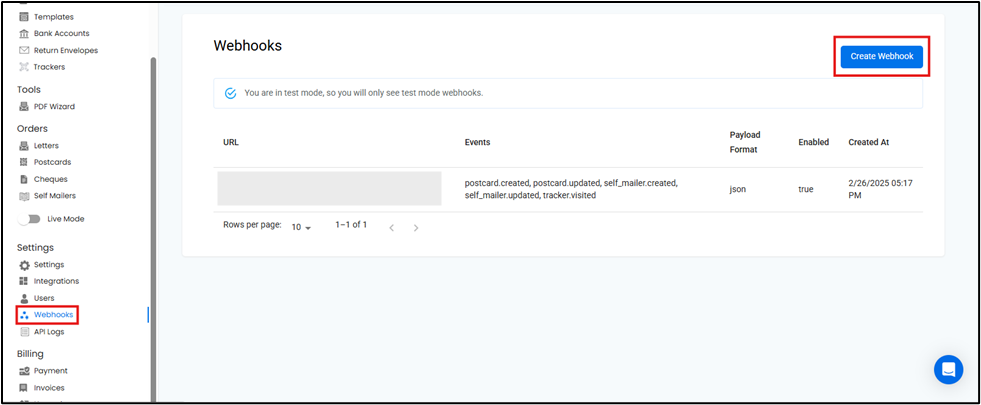
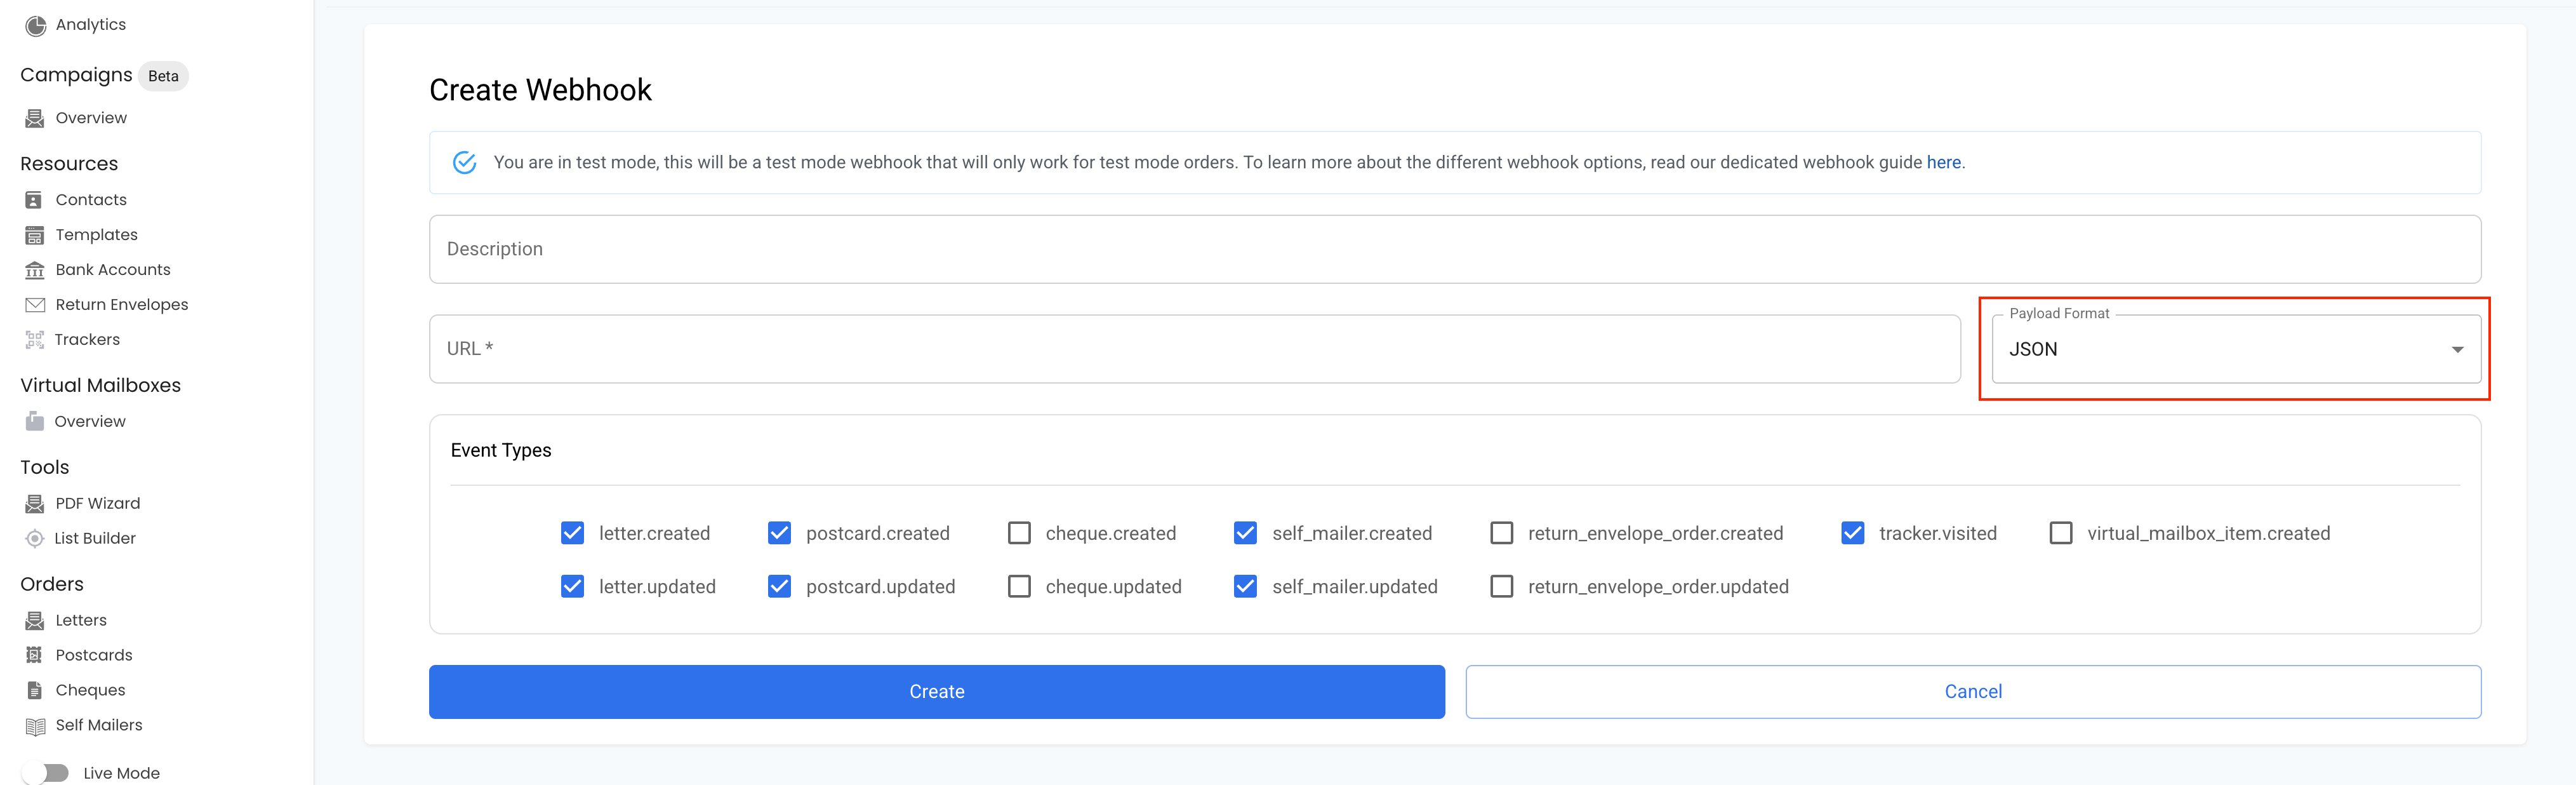
Add description in the Description field and paste the cloud Page URL in the URL field. Ensure the Payload Format has been changed to JSON.
Add the Event Types that you would like to receive order data for and click Create.
You will now receive tracking data in your PostGrid_Webhook_Tracking data extensions.
Updated 8 months ago